Module aws.sns

ballerinax/aws.sns Ballerina library
Overview
Amazon SNS (Simple Notification Service) is a fully managed messaging service for both application-to-application (A2A) and application-to-person (A2P) communication. It enables developers to send notifications from their applications to various endpoints, including email, SMS, and mobile push, as well as to other AWS services like SQS, Lambda, and HTTP/S webhooks.
The Amazon SNS connector offers APIs to connect and interact with Amazon SNS REST API endpoints.
Key Features
- Create, list, and delete topics
- Manage subscriptions and permissions
- Publish messages to topics or directly to endpoints
- Support for SMS and mobile push notifications
- Flexible credential configuration: static keys, AWS credentials file profiles, or the default AWS credential provider chain (EKS Pod Identity, ECS task roles, EC2 instance profiles, environment variables)
- GraalVM compatible for native image builds
Setup guide
Step 1: Create an AWS account
- If you don't already have an AWS account, you need to create one. Go to the AWS Management Console, click on "Create a new AWS Account," and follow the instructions.
Step 2: Get the access key ID and the secret access key
Once you log in to your AWS account, you need to create a user group and a user with the necessary permissions to access SNS. To do this, follow the steps below:
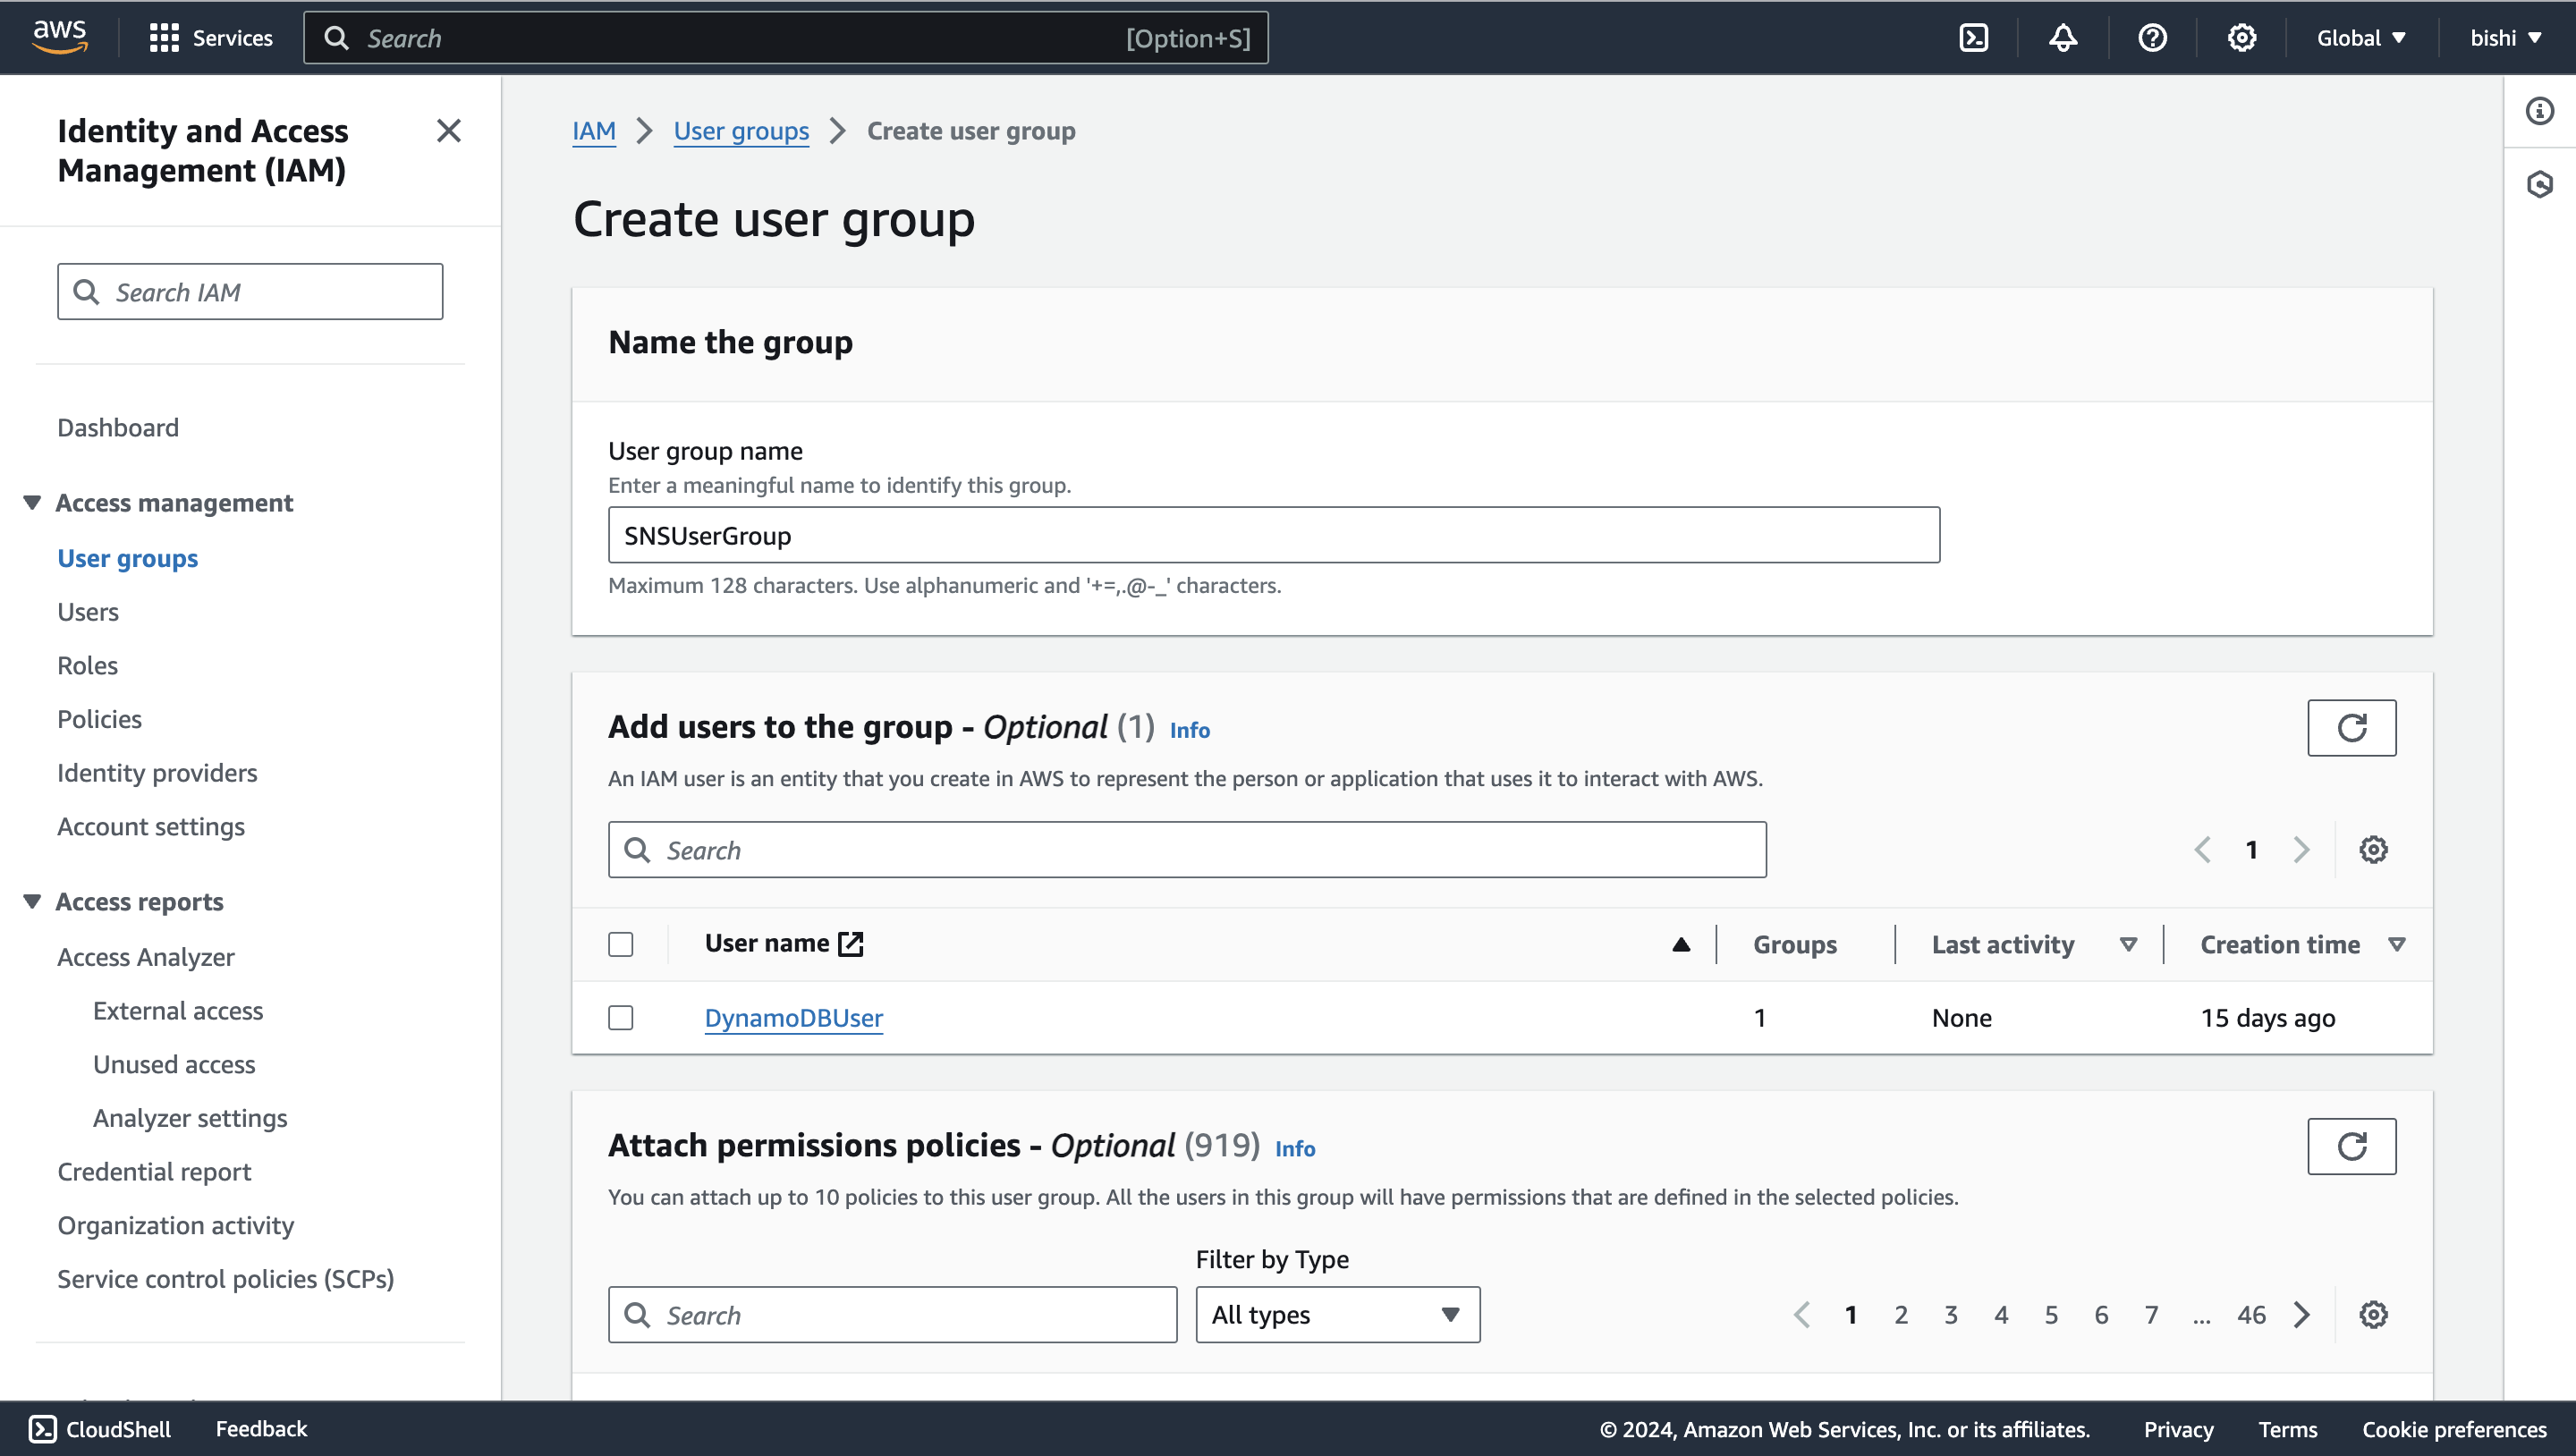
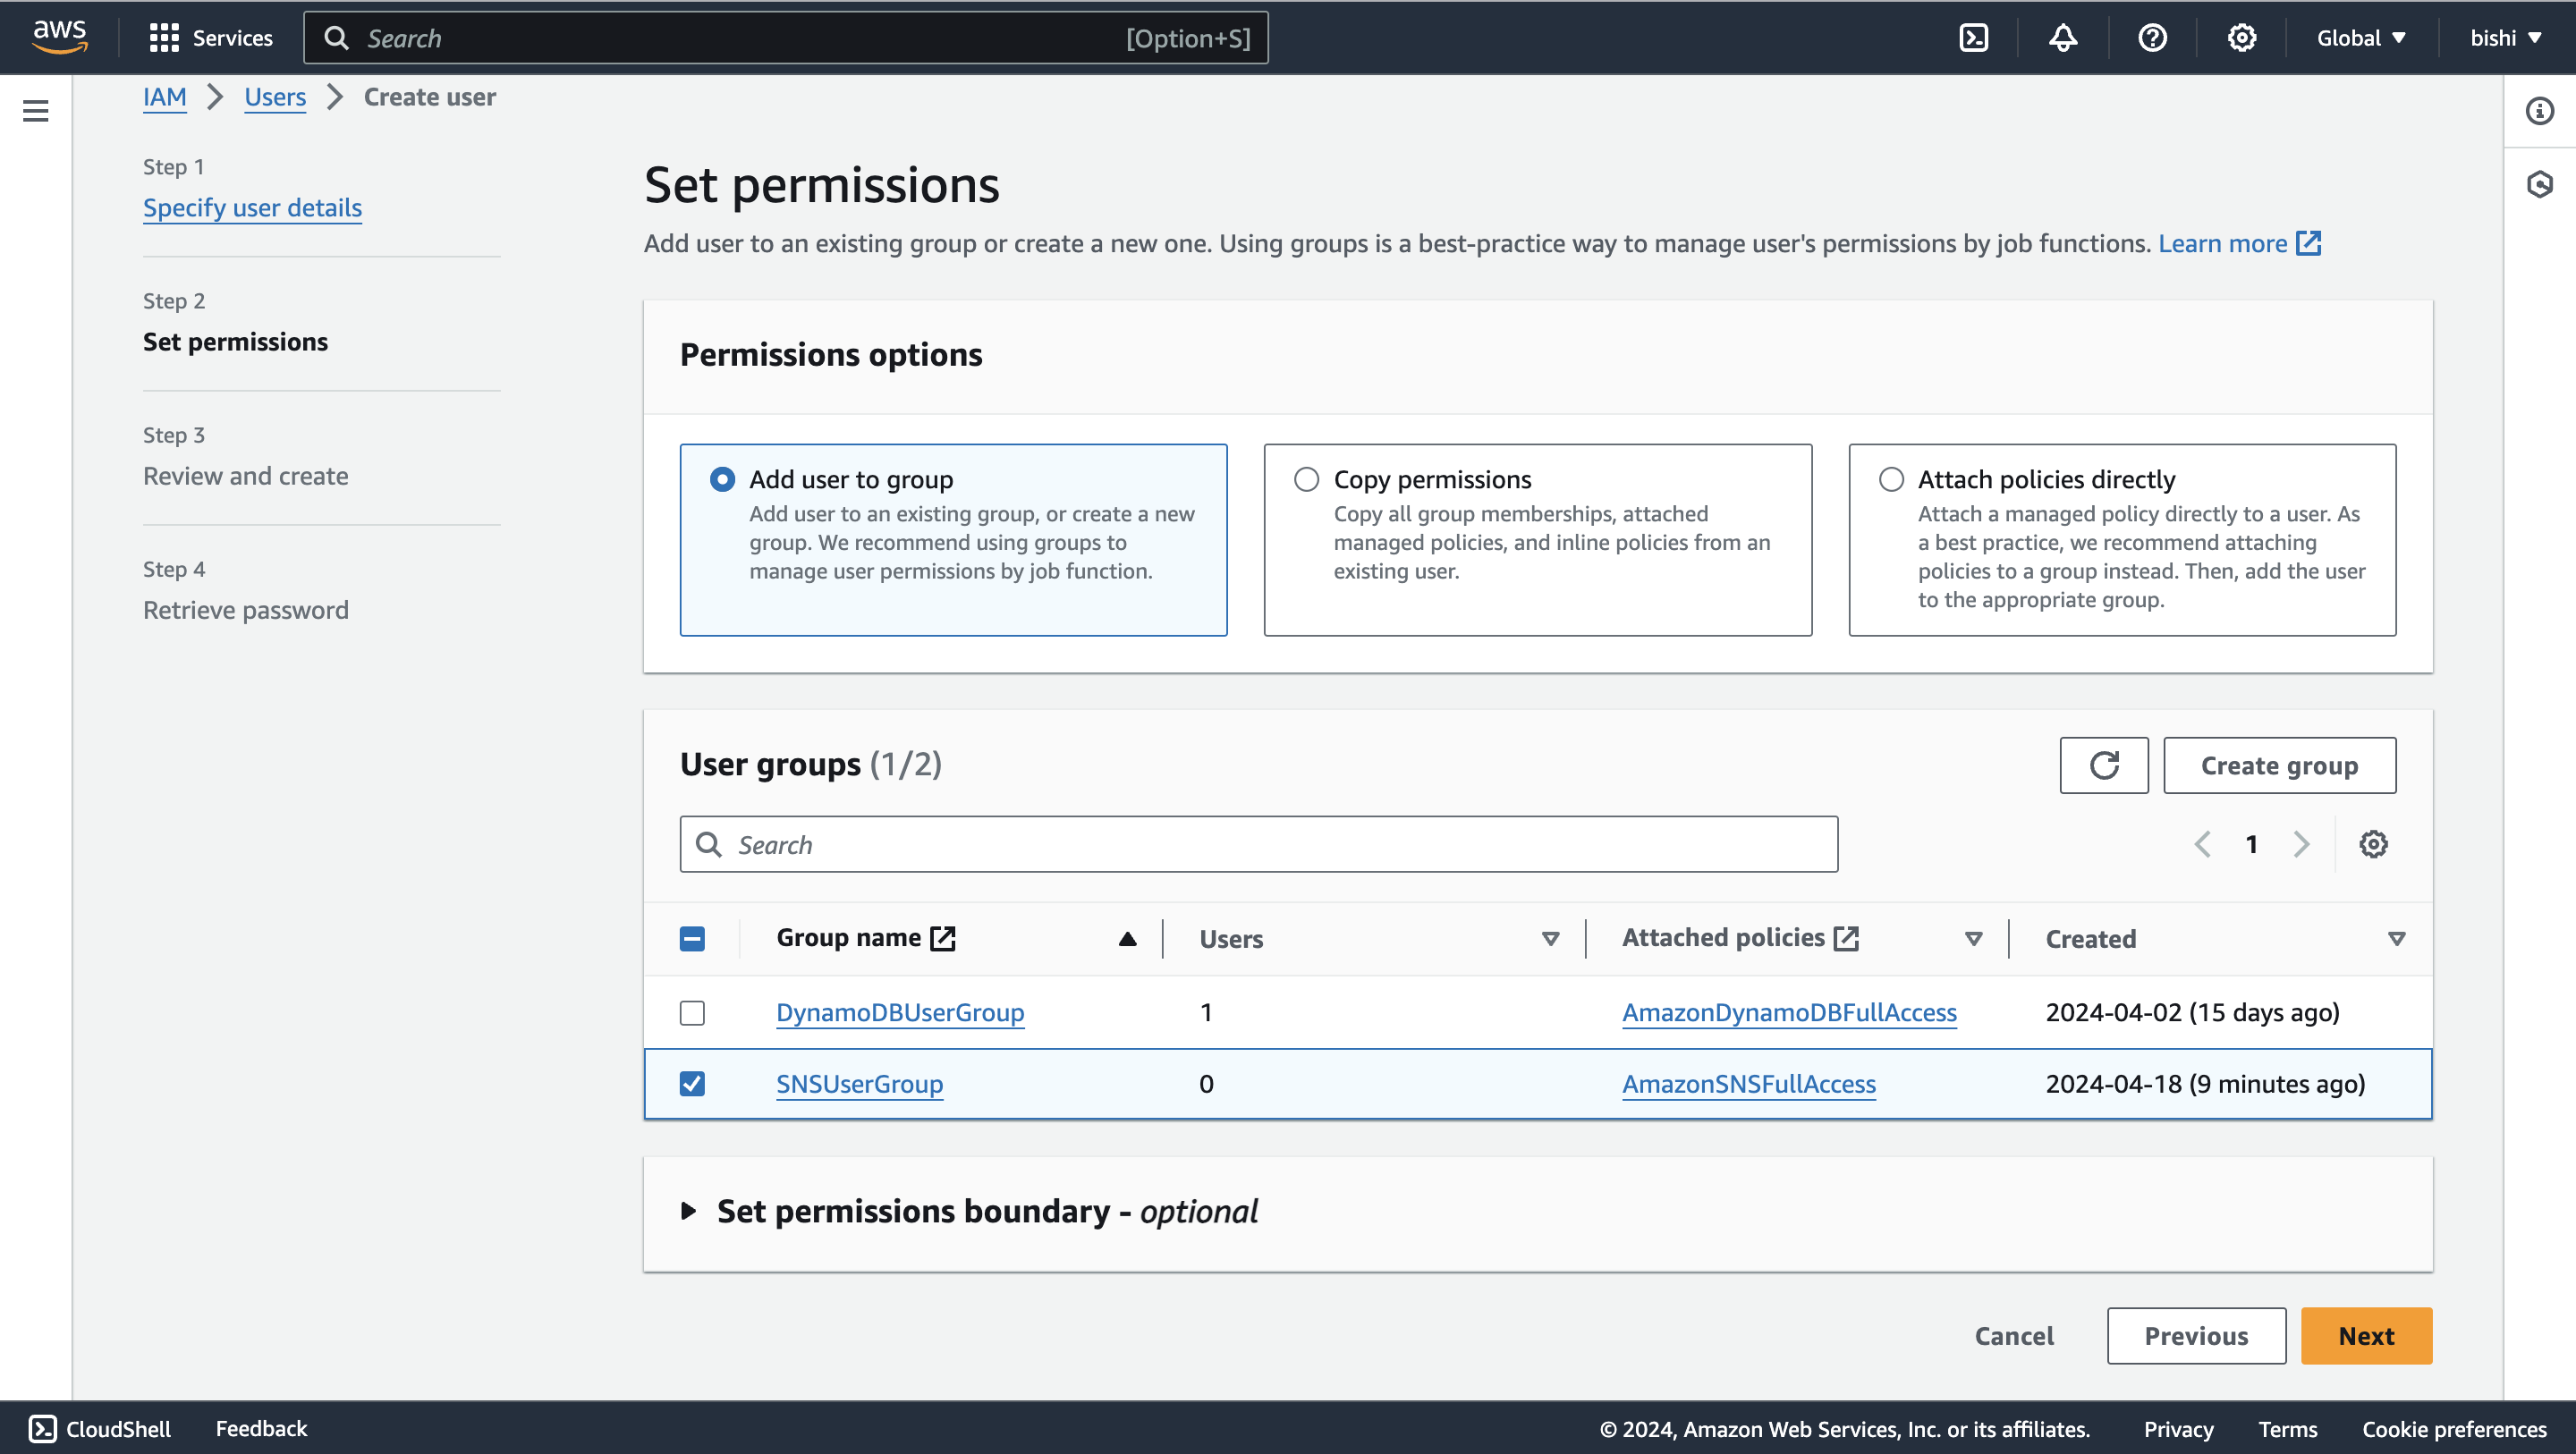
- Create an AWS user group
-
Navigate to the Identity and Access Management (IAM) service. Click on "Groups" and then "Create New Group."
-
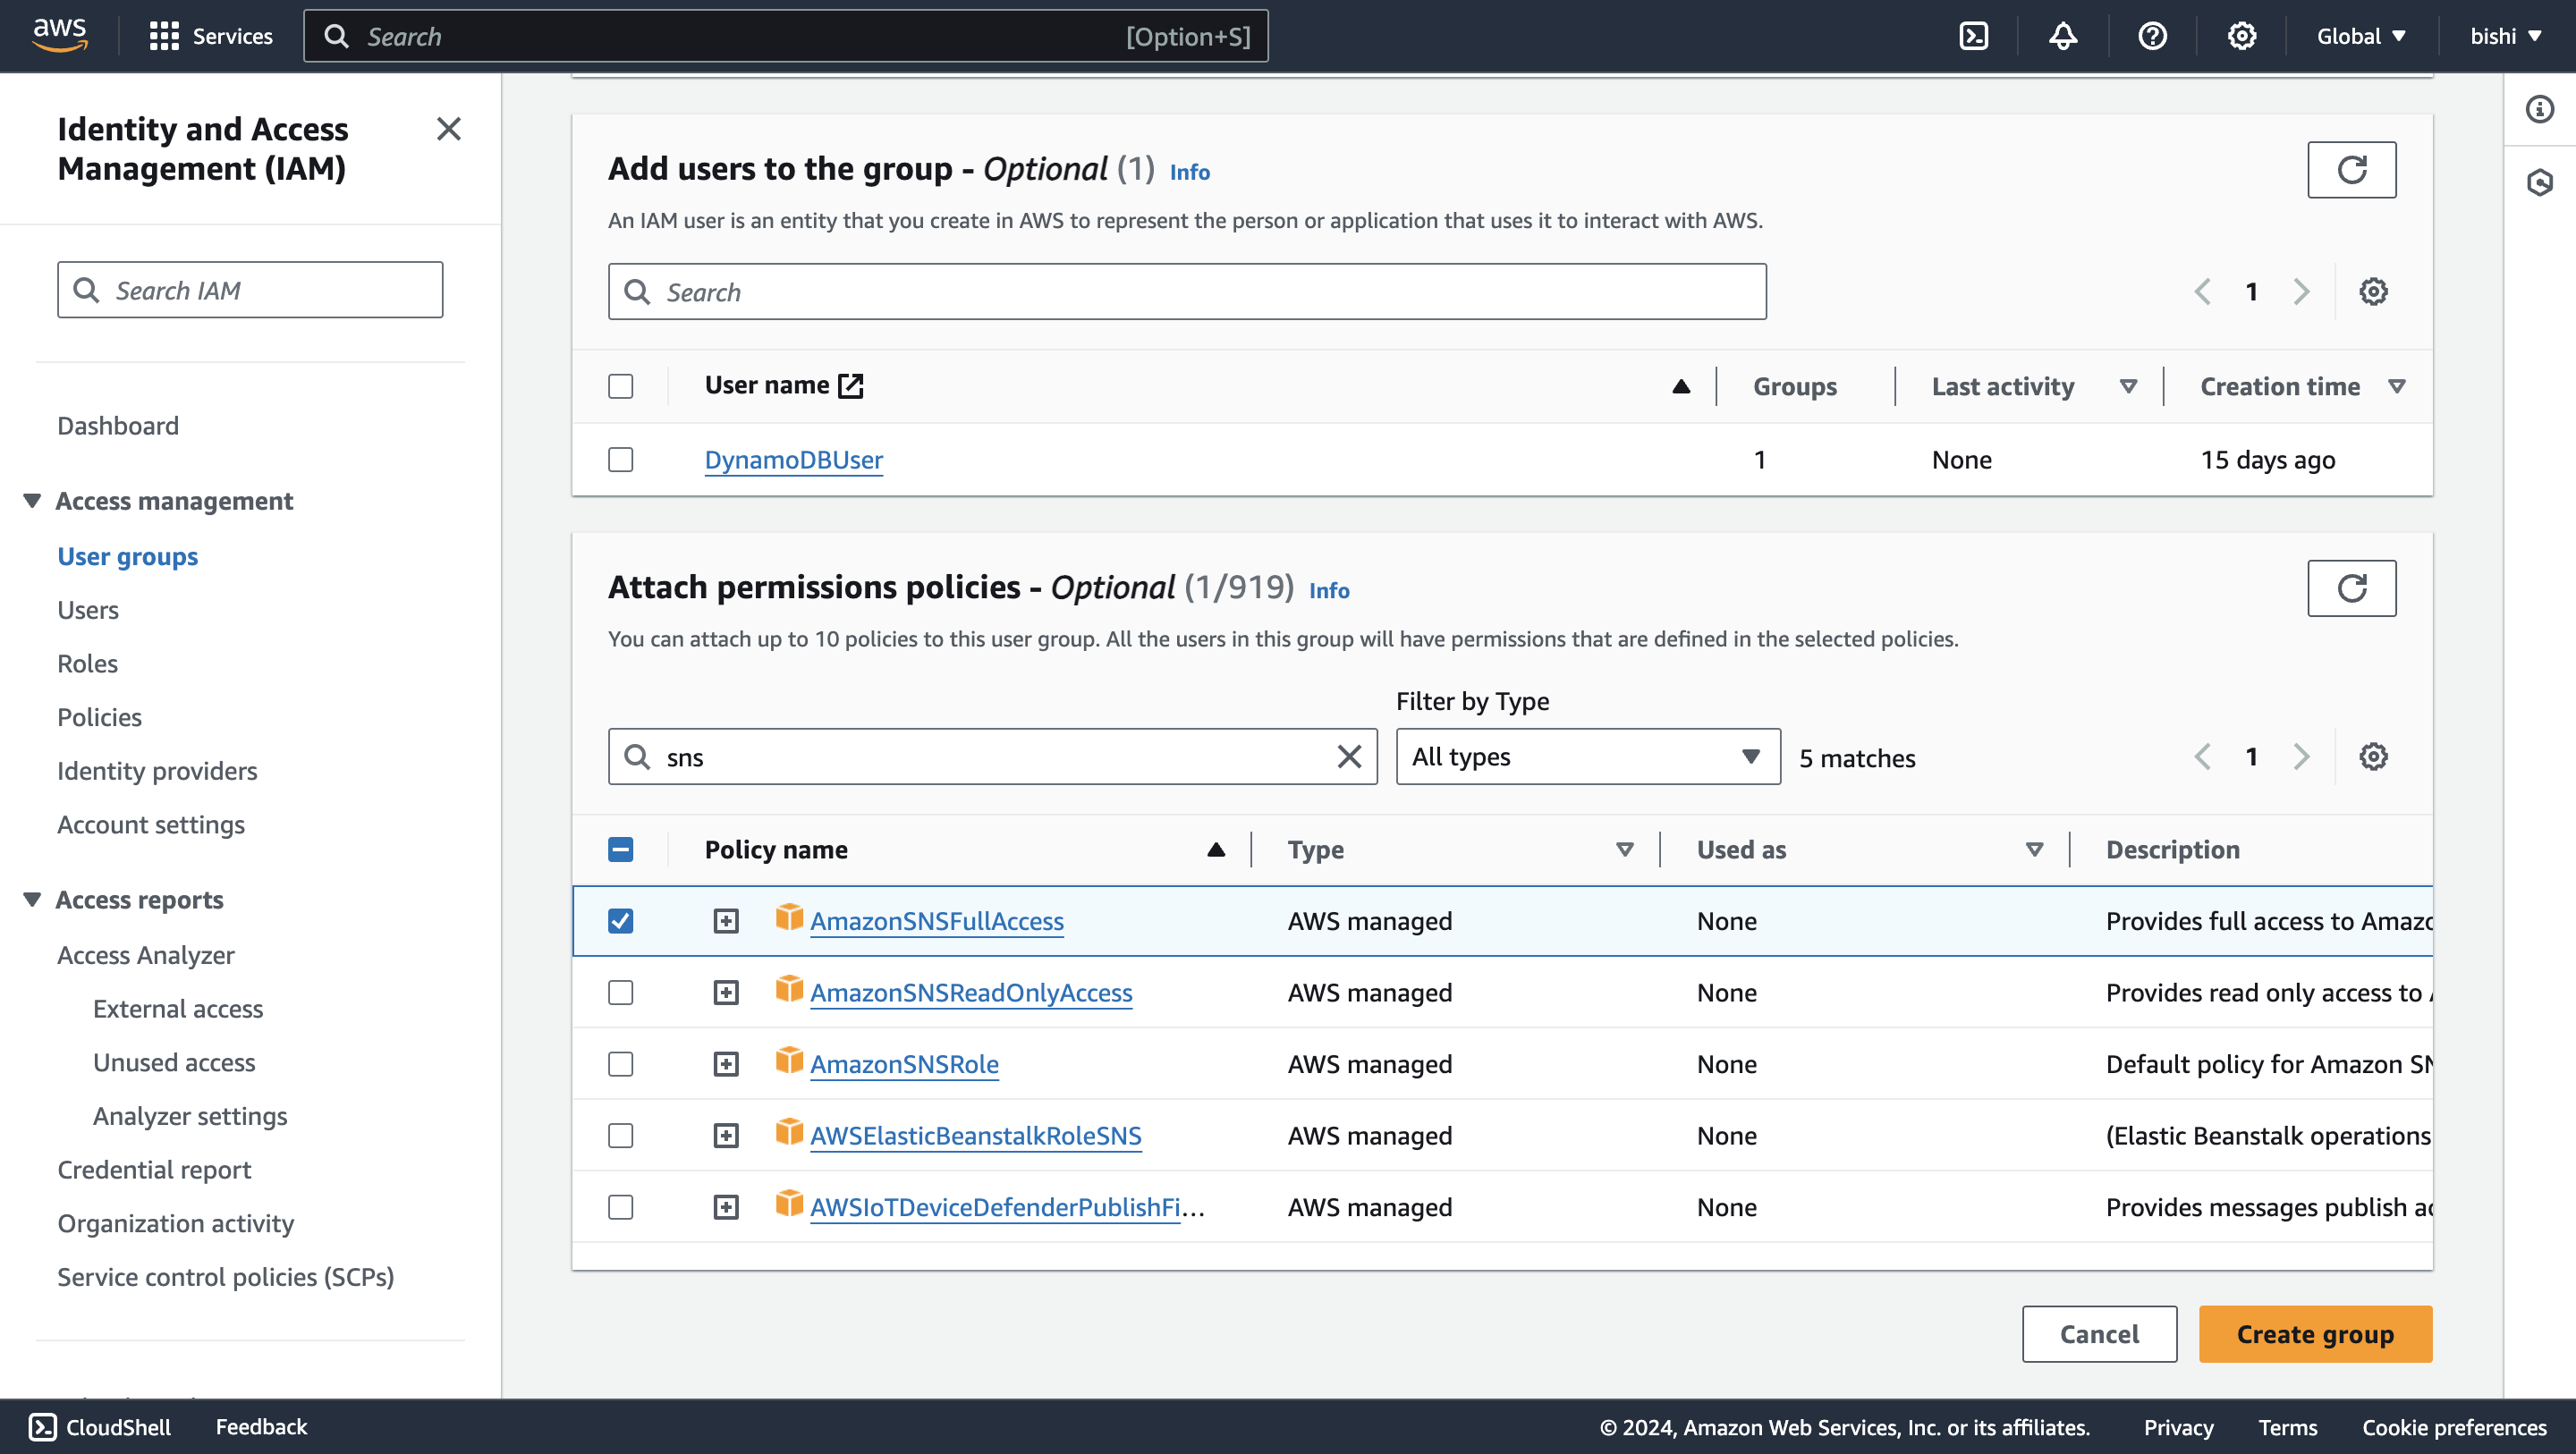
Enter a group name and attach the necessary policies to the group. For example, you can attach the "AmazonSNSFullAccess" policy to provide full access to SNS.
- Create an IAM user
-
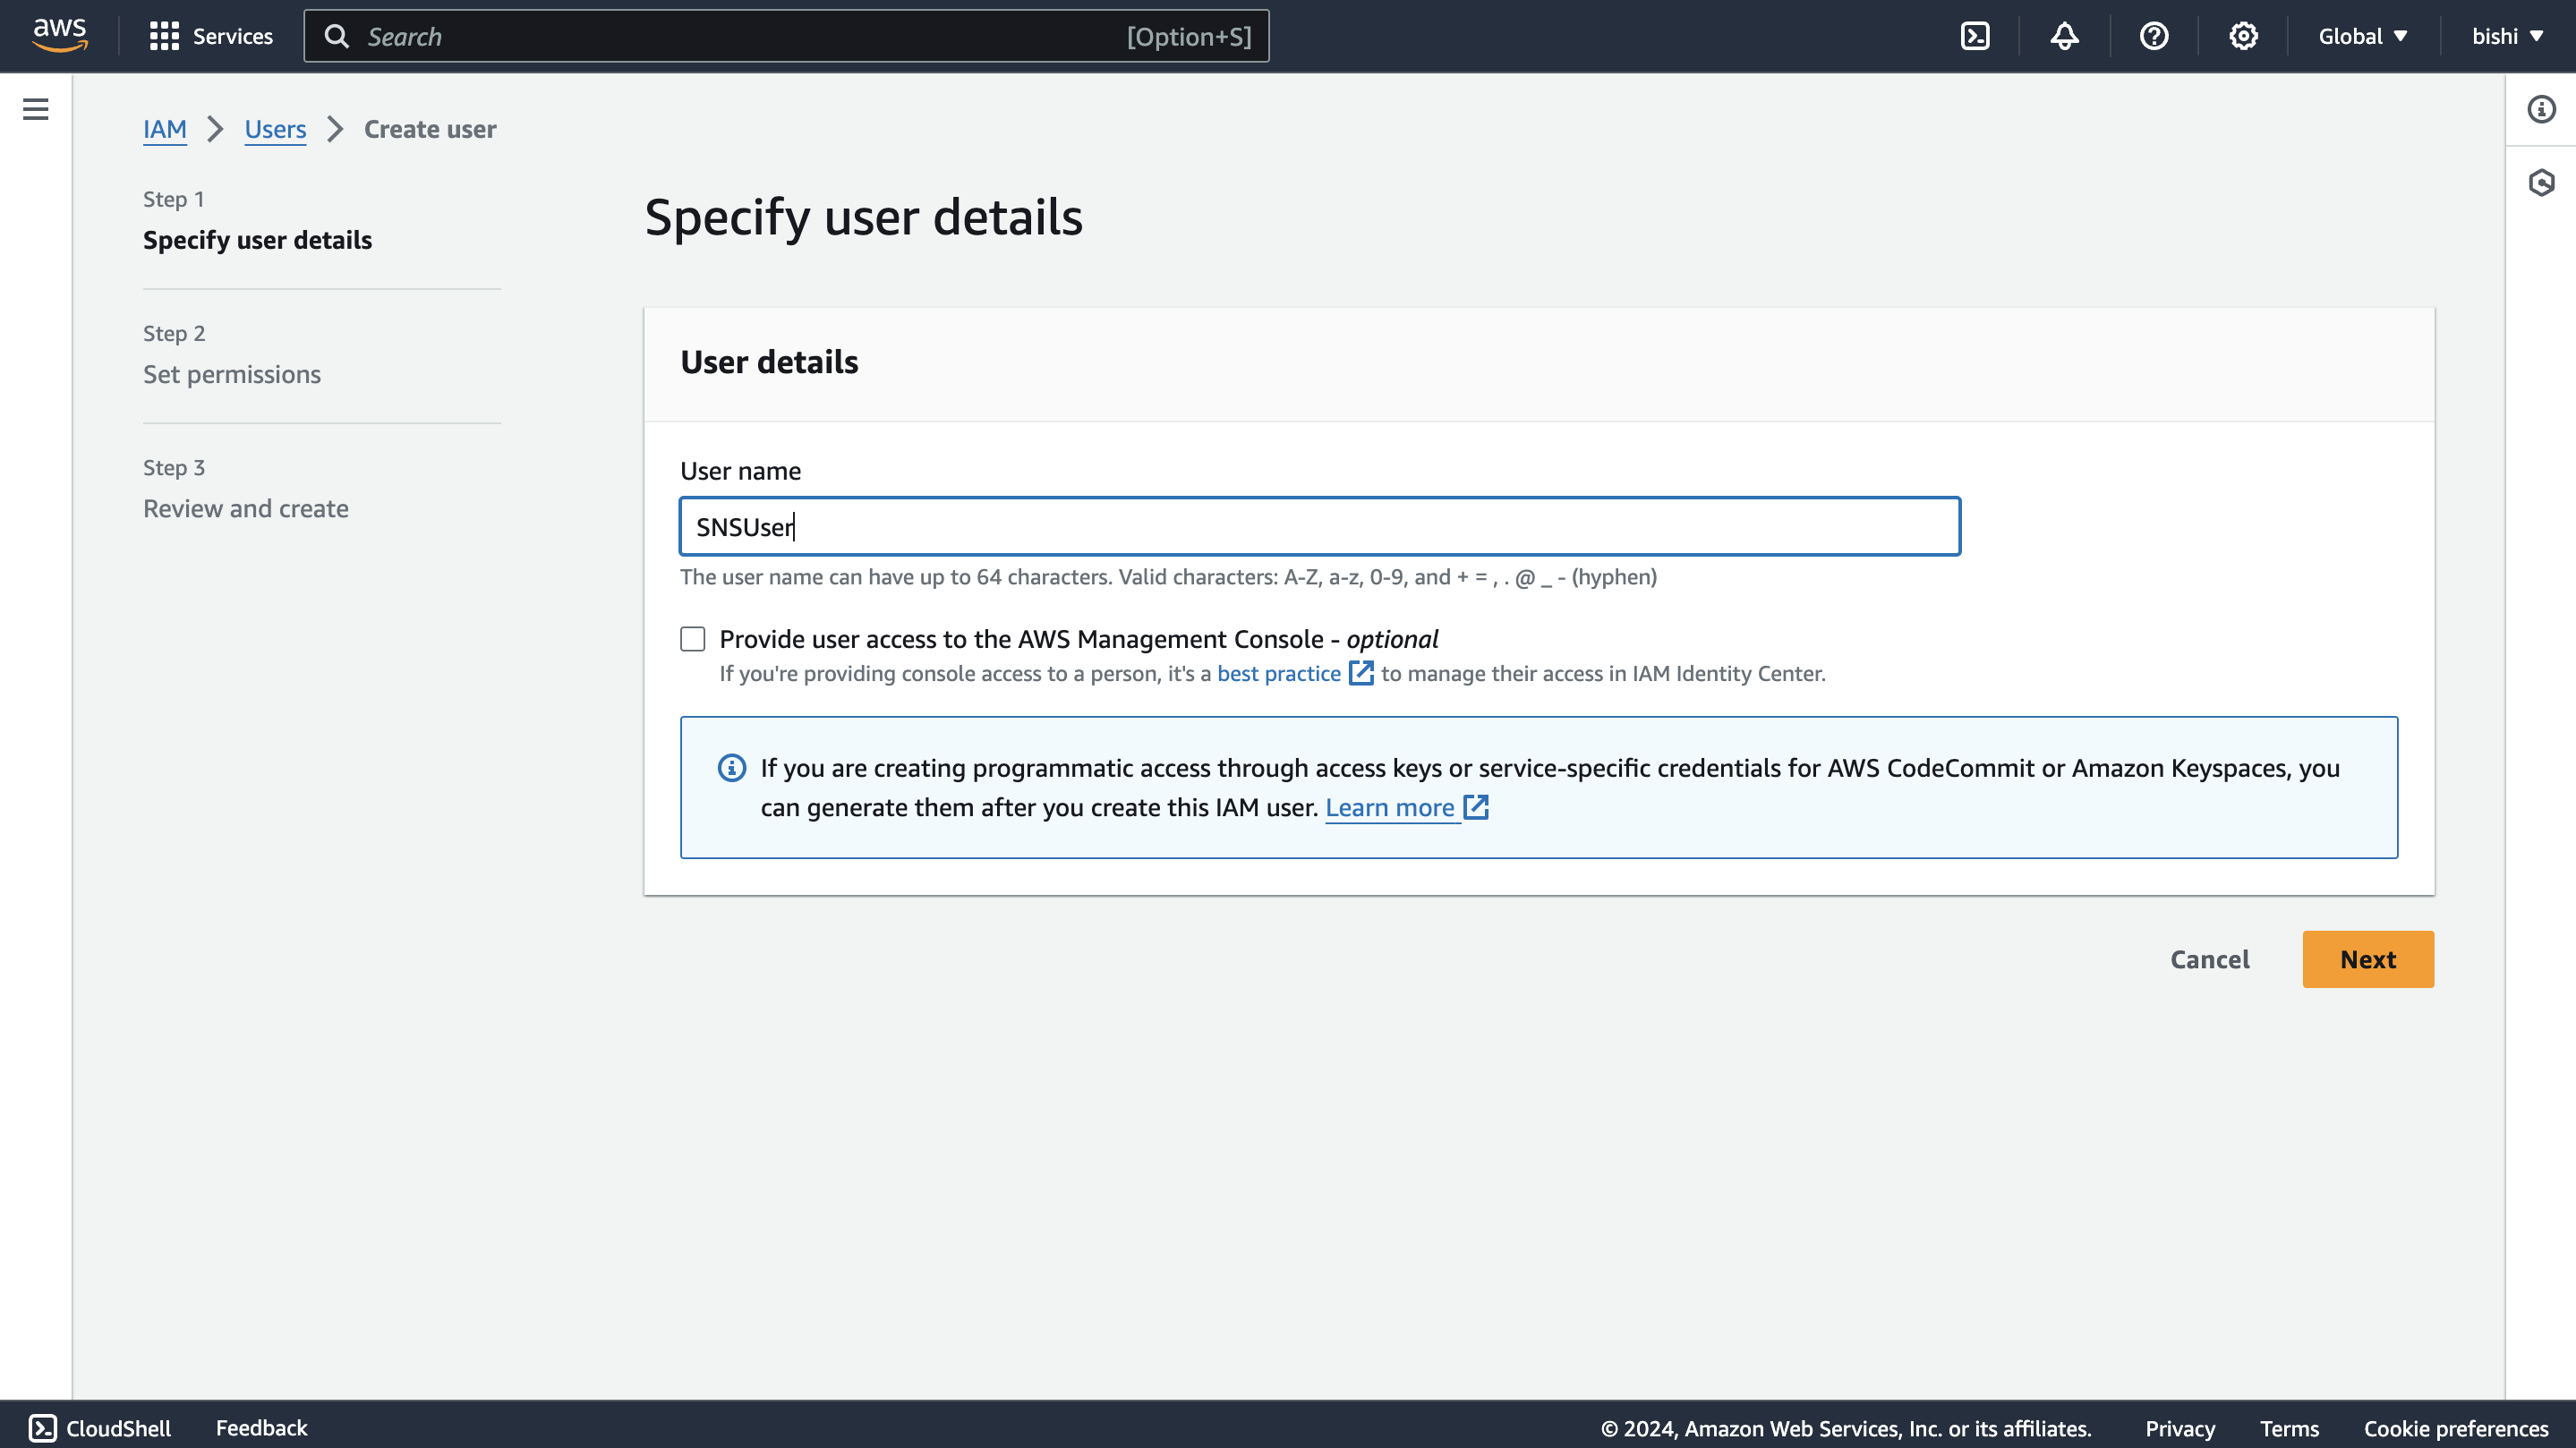
In the IAM console, navigate to "Users" and click on "Add user."
-
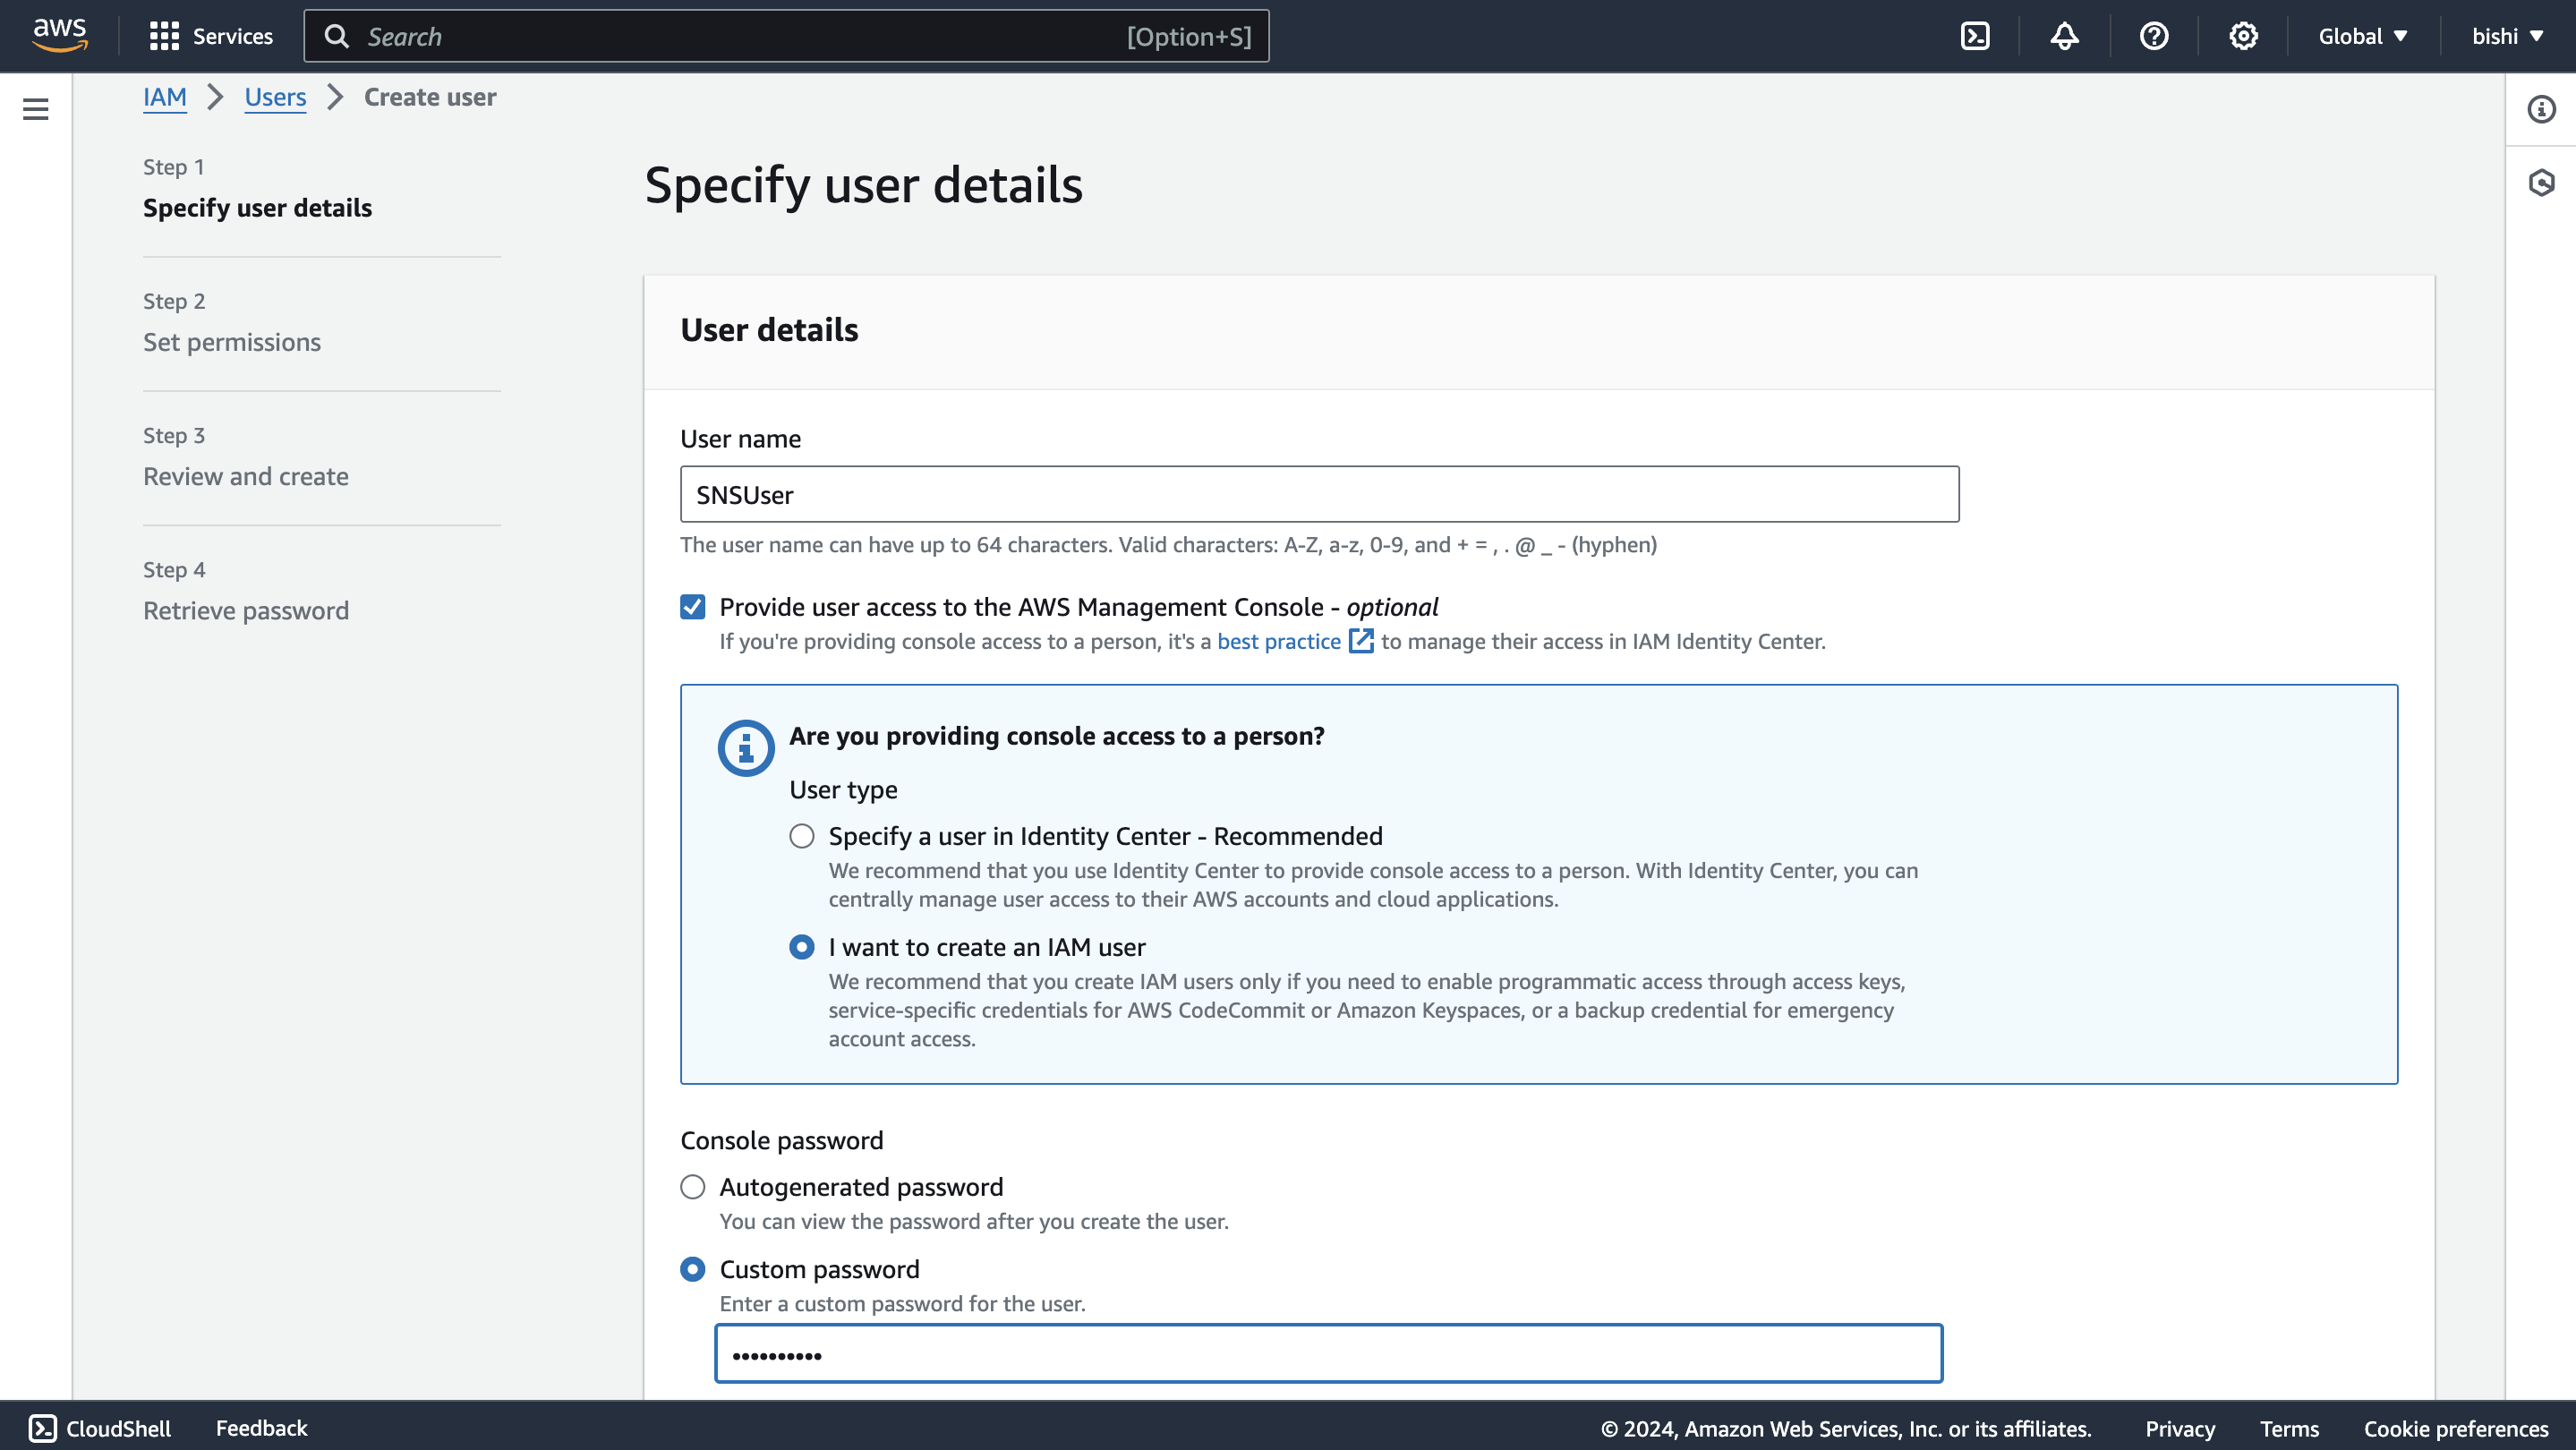
Enter a username, tick the "Provide user access to the AWS Management Console - optional" checkbox, and click "I want to create an IAM user". This will enable programmatic access through access keys.
-
Click through the permission setup, and add the user to the user group we previously created.
-
Review the details and click "Create user."
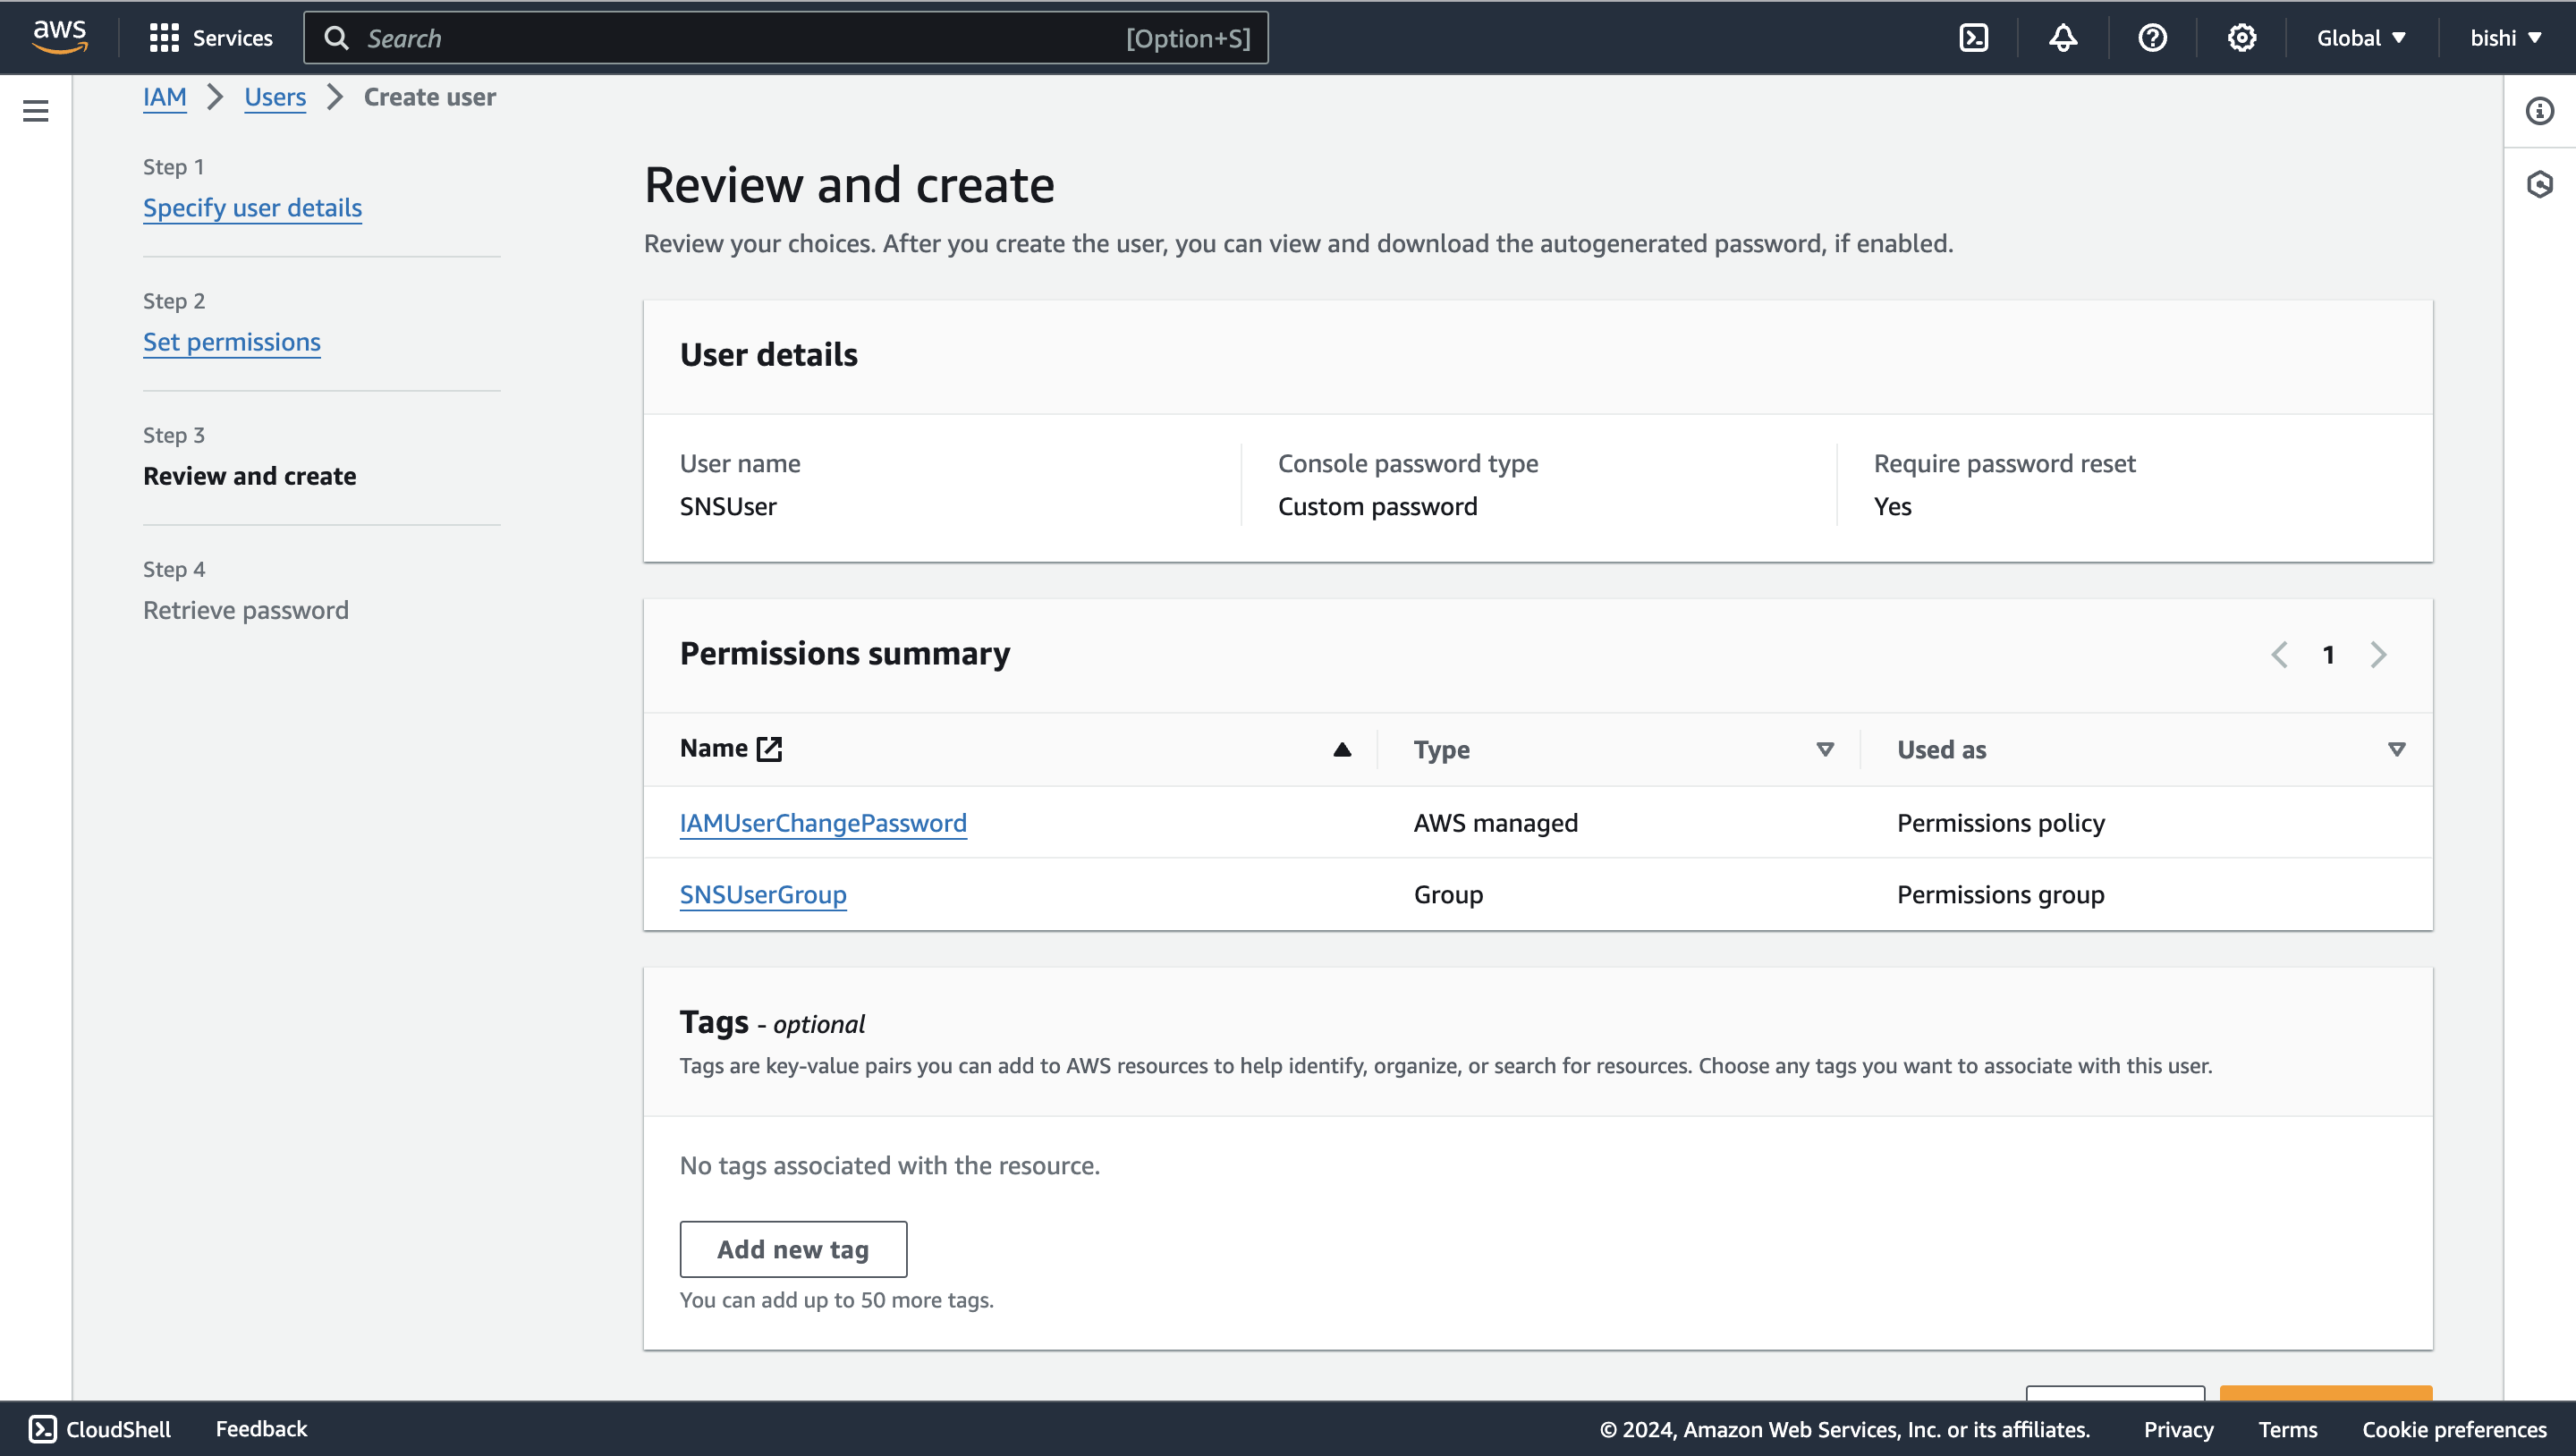
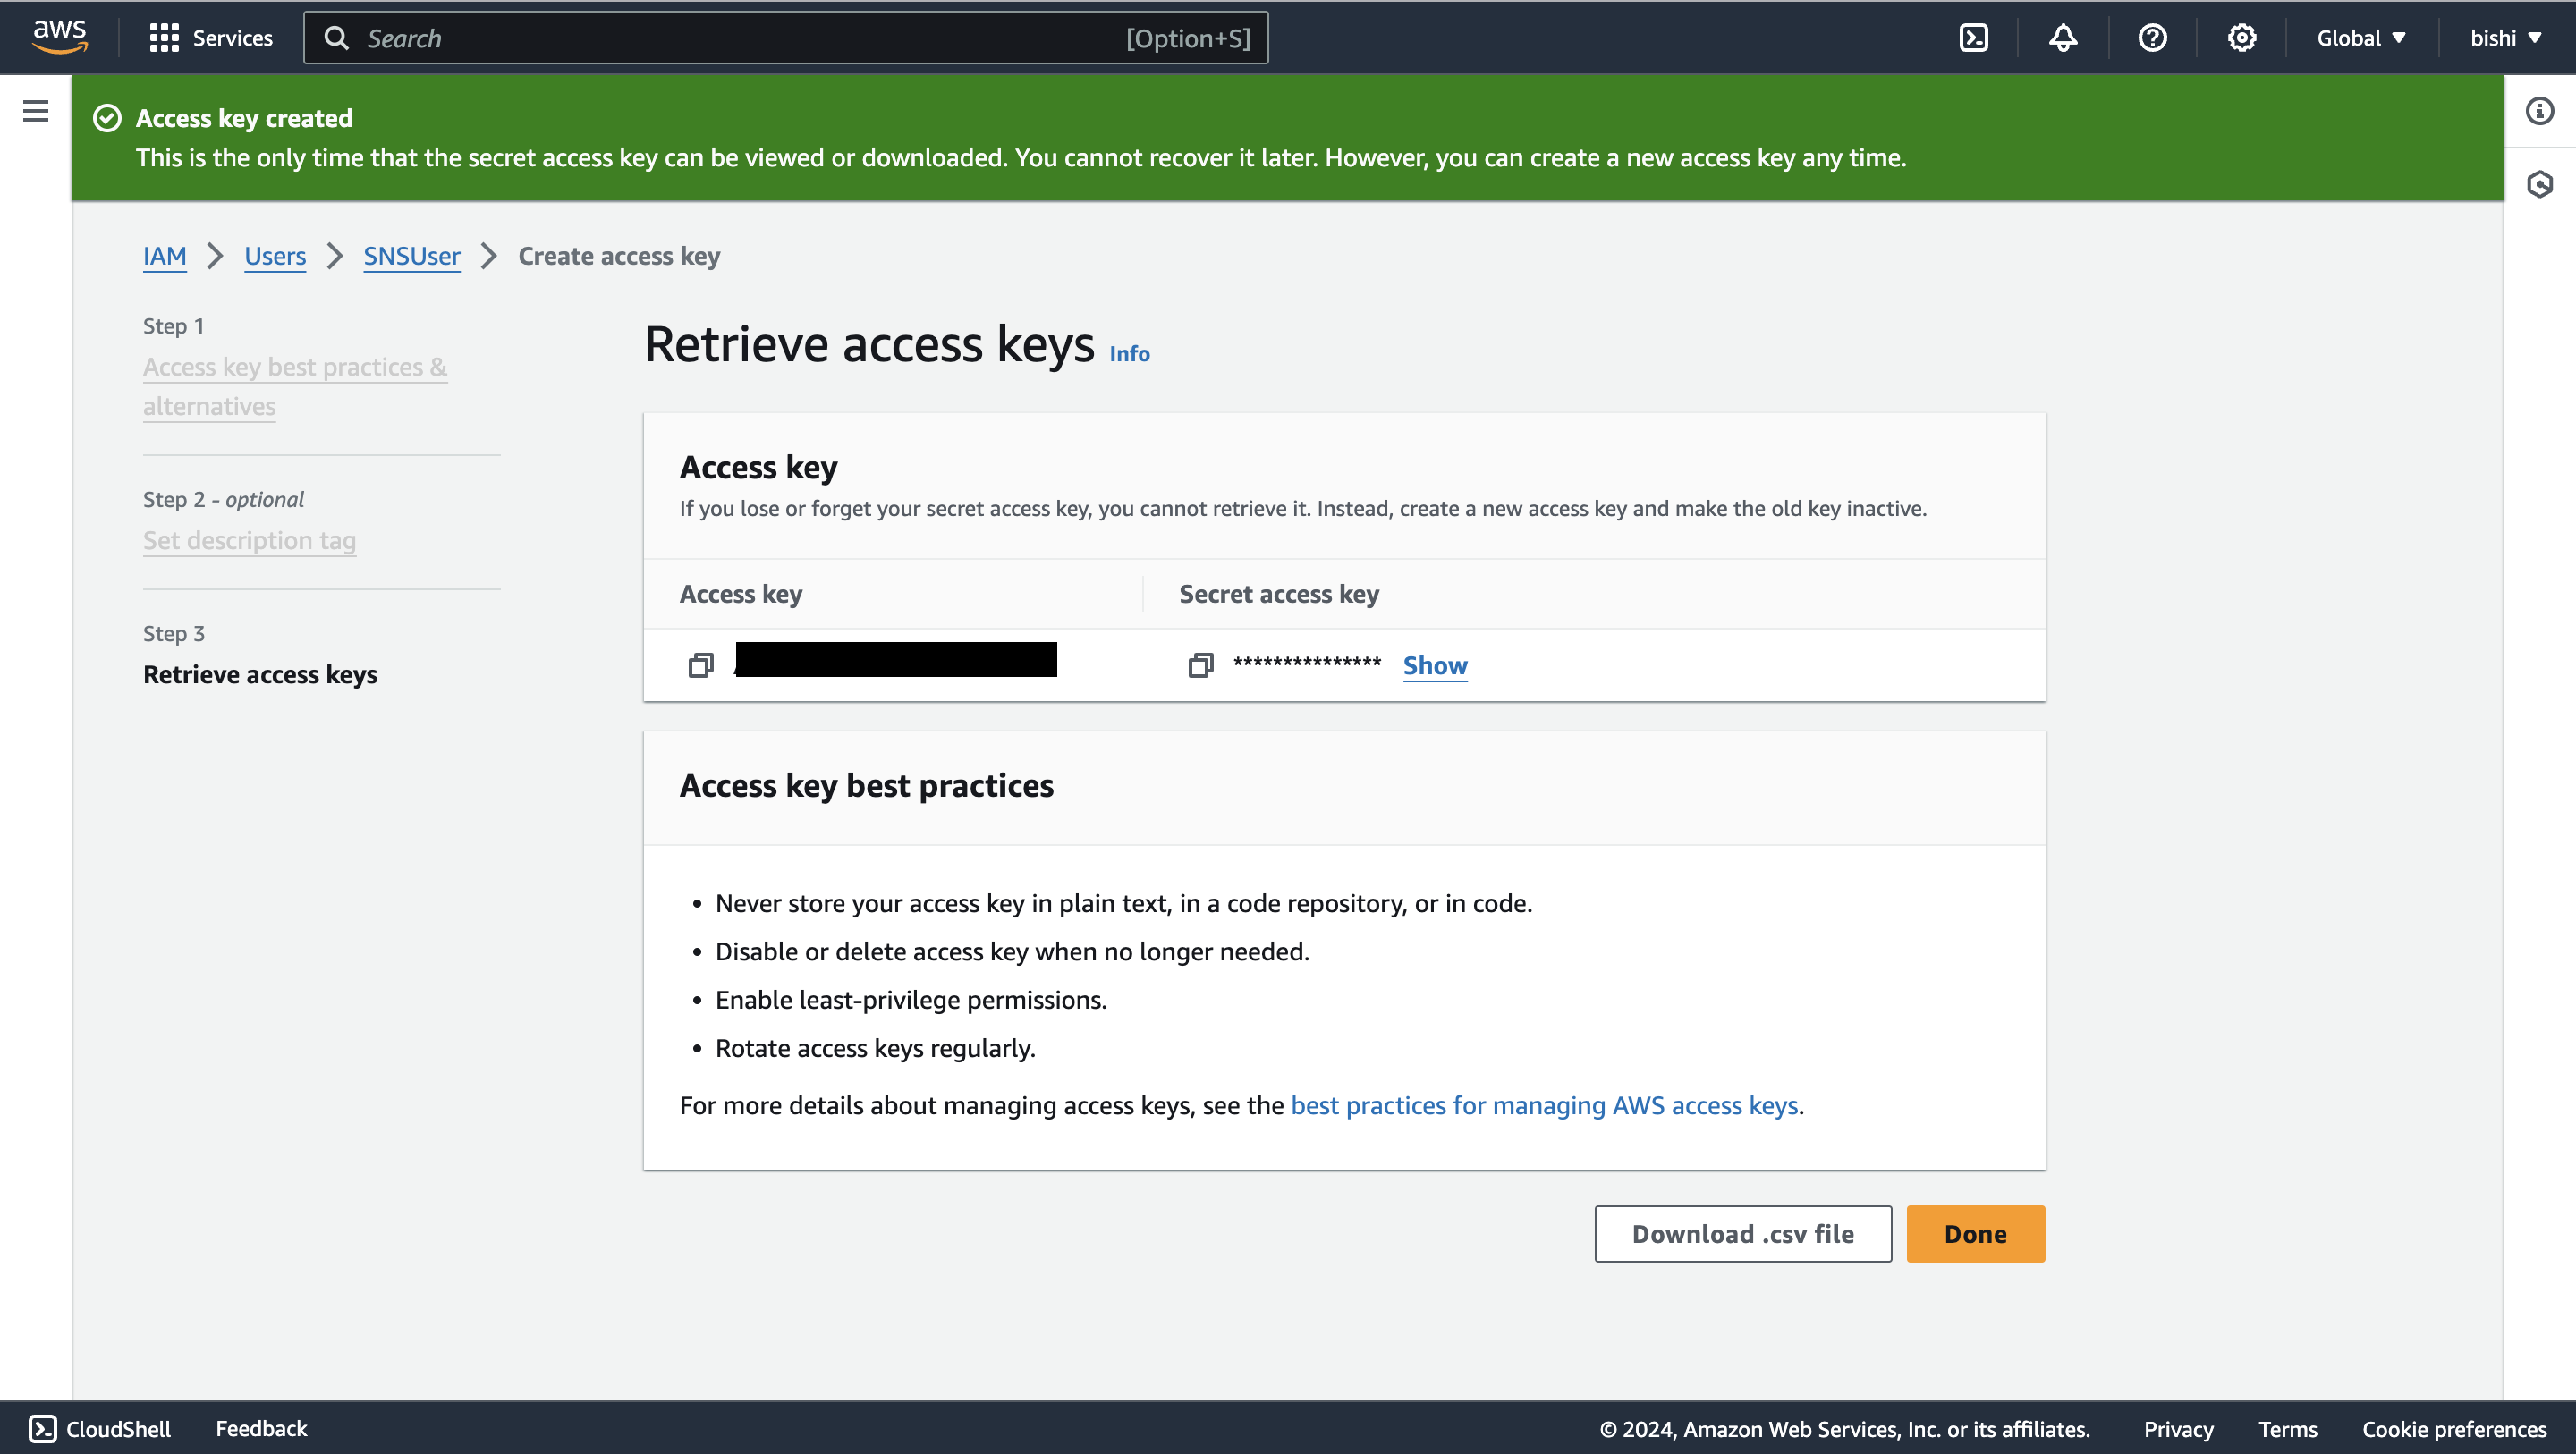
- Generate access key ID and secret access key
-
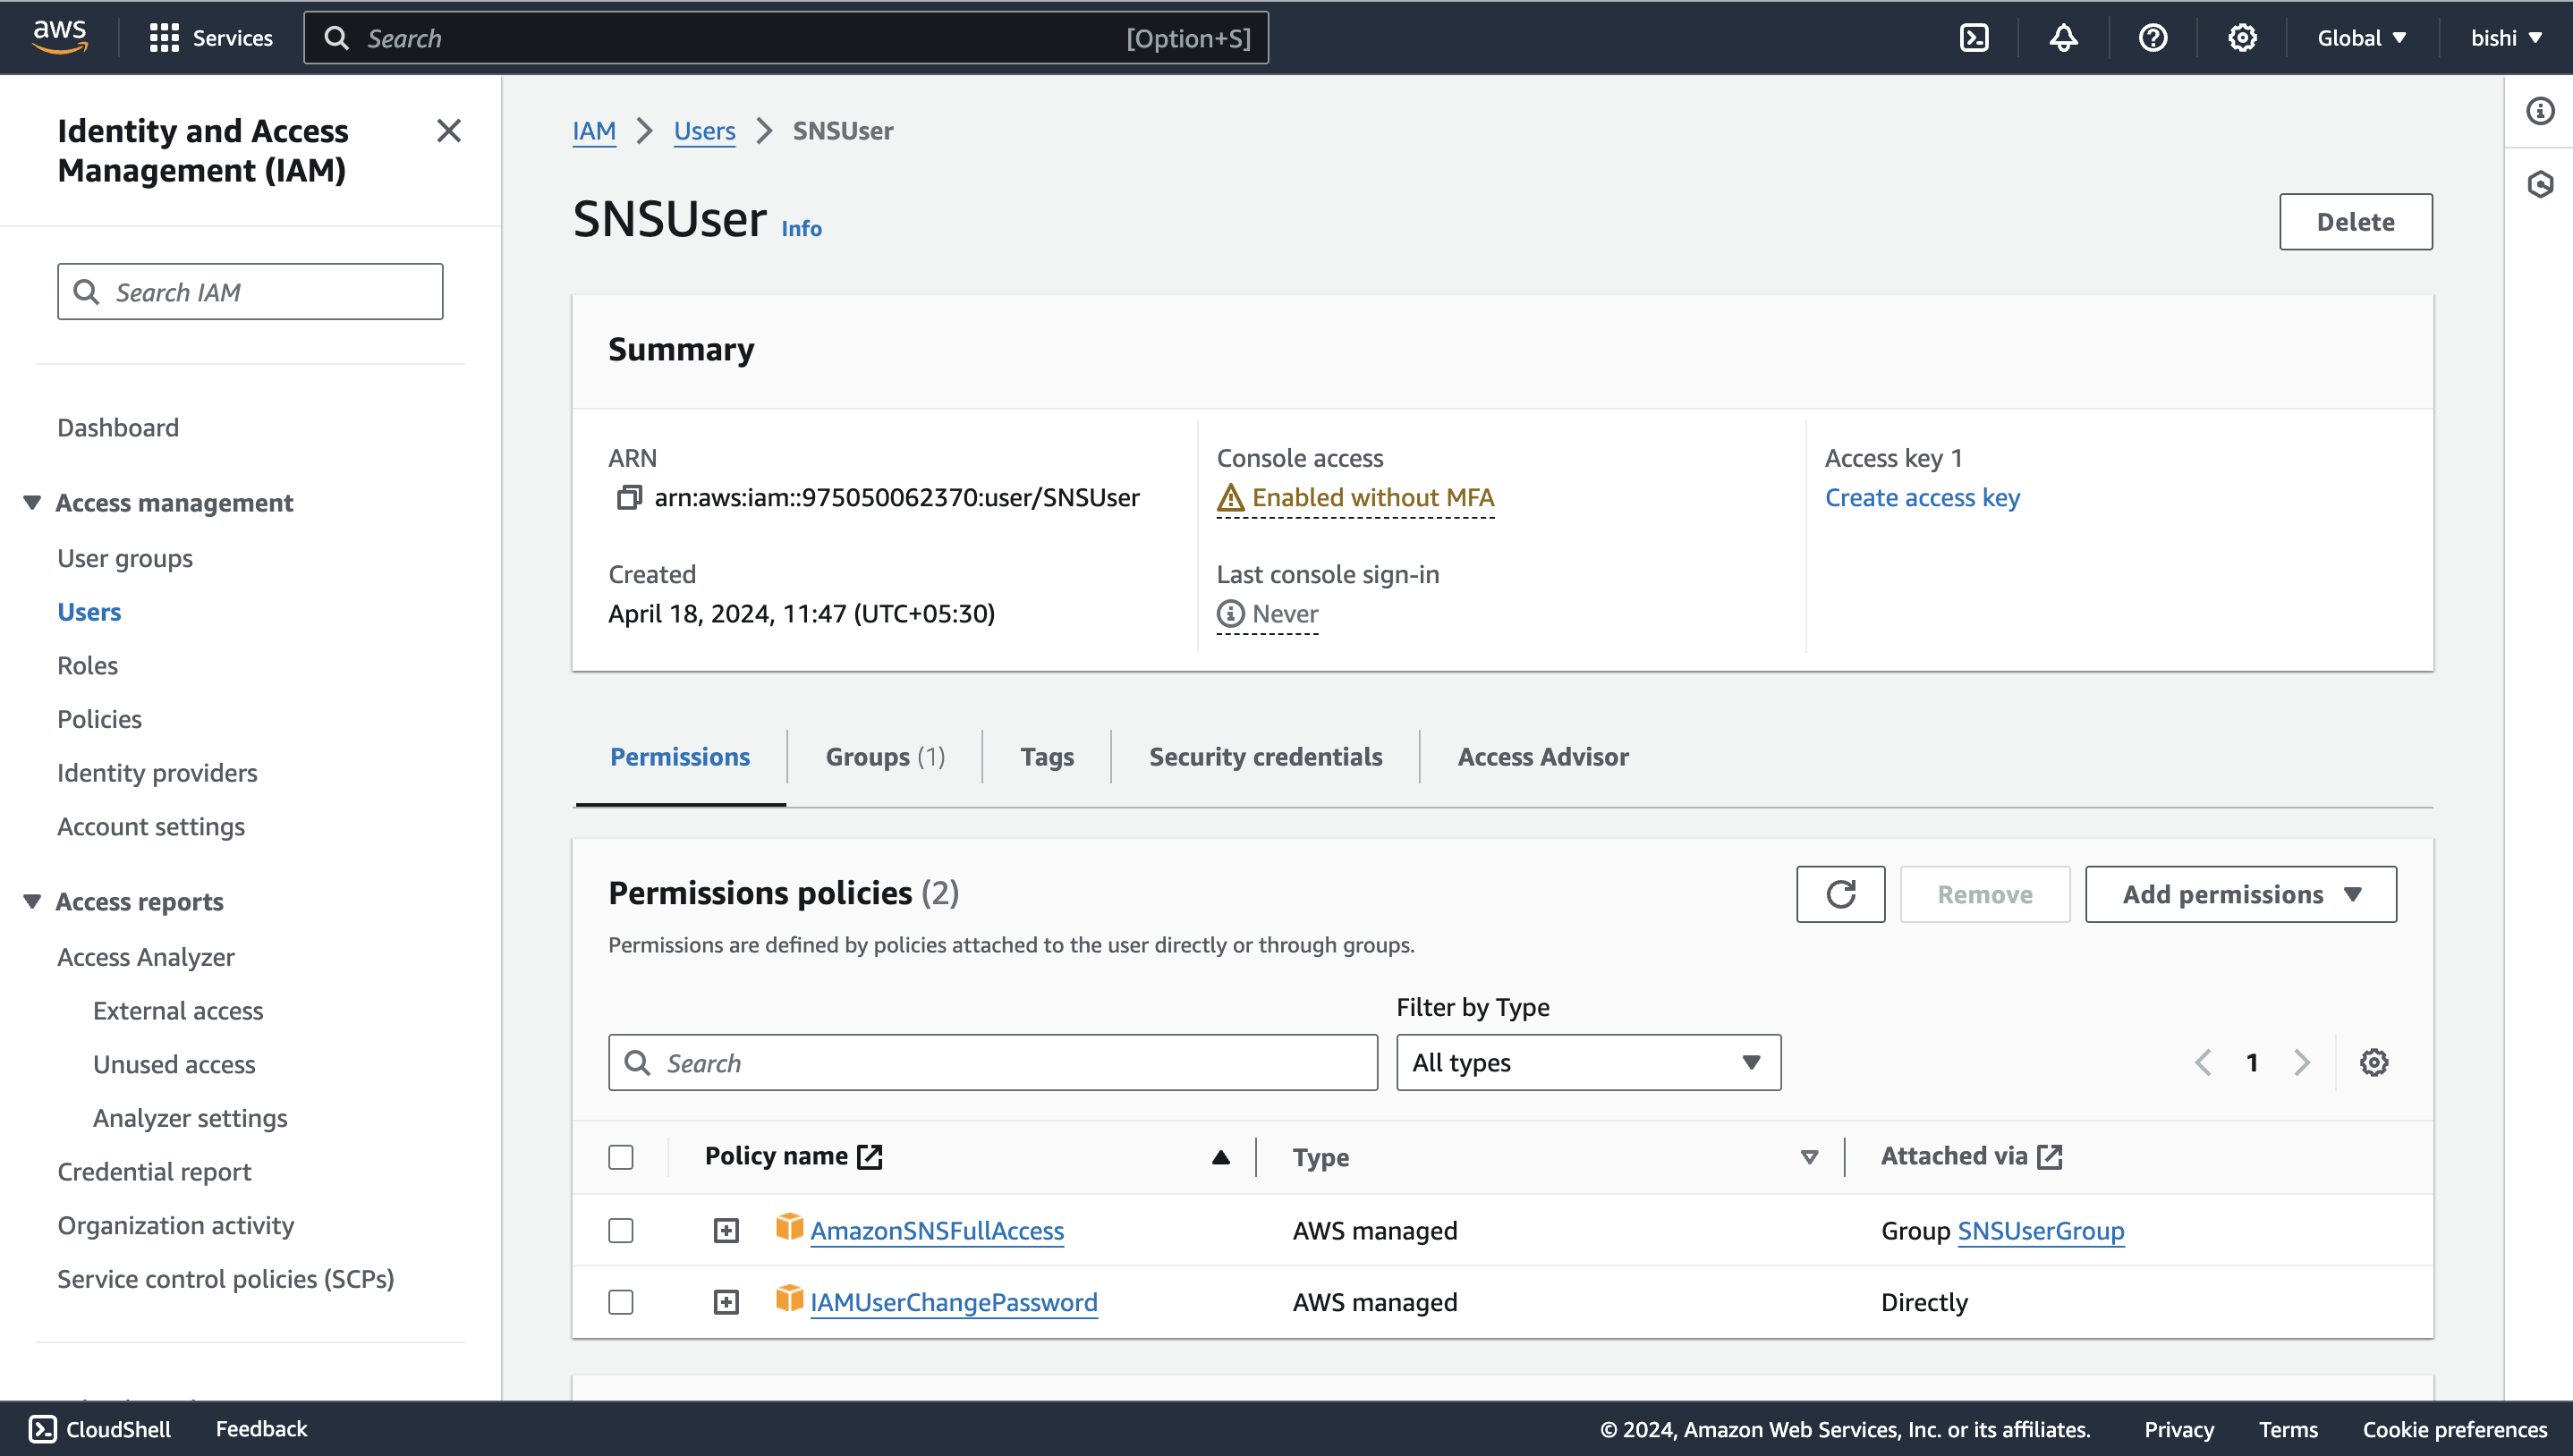
Once the user is created, you will see a success message. Navigate to the "Users" tab, and select the user you created.
-
Click on the "Create access key" button to generate the access key ID and secret access key.
-
Follow the steps and download the CSV file containing the credentials.
Quickstart
To use the aws.sns connector in your Ballerina project, modify the .bal file as follows:
Step 1: Import the connector
Import the ballerinax/aws.sns package into your Ballerina project.
import ballerinax/aws.sns;
Step 2: Instantiate a new connector
The sns:Client accepts a ConnectionConfig with a credentials field that supports three authentication modes.
Option 1: Static credentials
Use explicit AWS credentials. Suitable for local development and environments where credentials are managed directly.
sns:Client snsClient = check new ({ credentials: { accessKeyId: "<AWS_ACCESS_KEY_ID>", secretAccessKey: "<AWS_SECRET_ACCESS_KEY>" }, region: "<AWS_REGION>" });
For temporary credentials (e.g., from aws sts get-session-token), include the session token:
sns:Client snsClient = check new ({ credentials: { accessKeyId: "<AWS_ACCESS_KEY_ID>", secretAccessKey: "<AWS_SECRET_ACCESS_KEY>", sessionToken: "<AWS_SESSION_TOKEN>" }, region: "<AWS_REGION>" });
Option 2: AWS credentials file profile
Use a named profile from your ~/.aws/credentials file. Suitable for developer workstations with multiple AWS accounts.
sns:Client snsClient = check new ({ credentials: { profileName: "<PROFILE_NAME>", credentialsFilePath: "~/.aws/credentials" }, region: "<AWS_REGION>" });
Option 3: Default credential provider chain
Use sns:DEFAULT_CREDENTIALS to let the connector automatically resolve credentials from the environment. This is the recommended approach for AWS-managed environments.
sns:Client snsClient = check new ({ credentials: sns:DEFAULT_CREDENTIALS, region: "<AWS_REGION>" });
The credential resolution order is:
- Environment variables (
AWS_ACCESS_KEY_ID,AWS_SECRET_ACCESS_KEY,AWS_SESSION_TOKEN) - Container credentials endpoint — EKS Pod Identity (
AWS_CONTAINER_CREDENTIALS_FULL_URI+AWS_CONTAINER_AUTHORIZATION_TOKEN_FILE) and ECS task roles - EC2 instance metadata service (IMDS / instance profiles)
- AWS credentials file default profile (
~/.aws/credentials)
Step 3: Invoke the connector operation
Now, utilize the available connector operations.
string topicArn = check snsClient->createTopic("FirstTopic");
Step 4: Run the Ballerina application
Use the following command to compile and run the Ballerina program.
bal run
Examples
The sns connector provides practical examples illustrating usage in various scenarios. Explore these examples.
-
Football scores This example shows how to use SNS to implement an application to subscribe to receive football game scores.
-
Weather alert service This example shows how to use SNS to send weather alerts for multiple cities. Users can subscribe to different cities to receive alerts for their city only.
Clients
aws.sns: Client
Ballerina Amazon SNS API connector provides the capability to access Amazon's Simple Notification Service. This connector allows you to create and manage SNS topics and subscriptions. Supports static credentials, profile-based credentials, and the default AWS credential provider chain (environment variables, ECS/EKS container credentials, EC2 instance profiles, etc.).
Constructor
Initializes the connector.
init (ConnectionConfig config)- config ConnectionConfig - Configuration for the connector
createTopic
function createTopic(string name, InitializableTopicAttributes? attributes, json? dataProtectionPolicy, map<string>? tags) returns string|ErrorCreates a topic to which notifications can be published. This action is idempotent, so if the requester already owns a topic with the specified name, that topic's ARN is returned without creating a new topic.
Parameters
- name string - Name of topic
- attributes InitializableTopicAttributes? (default ()) - Topic attributes
- dataProtectionPolicy json? (default ()) - The body of the policy document you want to use for this topic. You can only add one policy per topic
deleteTopic
Deletes a topic and all its subscriptions. Deleting a topic might prevent some messages previously sent to the topic from being delivered to subscribers. This action is idempotent, so deleting a topic that does not exist does not result in an error.
Parameters
- topicArn string - The Amazon Resource Name (ARN) of the topic to be deleted
Return Type
- Error? -
()orsns:Errorin case of failure
listTopics
Returns the topics ARNs that are owned by the AWS account.
getTopicAttributes
function getTopicAttributes(string topicArn) returns GettableTopicAttributes|ErrorRetrieves an existing topic along with its attributes.
Parameters
- topicArn string - The Amazon Resource Name (ARN) of the topic
Return Type
- GettableTopicAttributes|Error -
Topicorsns:Errorin case of failure
setTopicAttributes
function setTopicAttributes(string topicArn, TopicAttributeName attributeName, json|string|int|boolean value) returns Error?Modifies the a single attribute of an Amazon SNS topic.
Parameters
- topicArn string - The Amazon Resource Name (ARN) of the topic
- attributeName TopicAttributeName - The name of the attribute you want to set
Return Type
- Error? -
()orsns:Errorin case of failure
publish
function publish(string target, Message message, TargetType targetType, map<MessageAttributeValue>? attributes, string? deduplicationId, string? groupId) returns PublishMessageResponse|ErrorPublishes a message to an SNS topic, a phone number, or a mobile platform endpoint.
Parameters
- target string - The target (topic ARN, target ARN or phone number) to which to publish the message to
- message Message - The message to publish. If you are publishing to a topic and you want to send the same message to all
transport protocols, include the text of the message as a
stringvalue. If you want to send different messages for each transport protocol, use aMessageRecordvalue
- targetType TargetType (default TOPIC) - The type of target (topic, phone number, or application endpoint) to publish the message to
- attributes map<MessageAttributeValue>? (default ()) - Attributes of the message
- deduplicationId string? (default ()) - Every message must have a unique
deduplicationId, which is a token used for deduplication of sent messages. If a message with a particulardeduplicationIdis sent successfully, any message sent with the samededuplicationIdduring the 5-minute deduplication interval is treated as a duplicate. If the topic hascontentBasedDeduplicationset, the system generates adeduplicationIdbased on the contents of the message. YourdeduplicationIdoverrides the generated one. Applies to FIFO topics only
- groupId string? (default ()) - Specifies the message group to which a message belongs to. Messages that belong to the same message
group are processed in a FIFO manner (however, messages in different message groups might be processed
out of order). Every message must include a
groupId. Applies to FIFO topics only
Return Type
- PublishMessageResponse|Error -
PublishMessageResponseorsns:Errorin case of failure
publishBatch
function publishBatch(string topicArn, PublishBatchRequestEntry[] entries) returns PublishBatchResponse|ErrorPublishes up to ten messages to the specified topic.
Parameters
- topicArn string - The Amazon Resource Name (ARN) of the topic
- entries PublishBatchRequestEntry[] - A list of
PublishBatchRequestEntryobjects that contain the separate messages to publish
Return Type
- PublishBatchResponse|Error -
PublishBatchResponseorsns:Errorin case of failure
subscribe
function subscribe(string topicArn, string endpoint, SubscriptionProtocol protocol, SubscriptionAttributes? attributes, boolean returnSubscriptionArn) returns string|ErrorCreates a subscription to a topic. If the endpoint type is HTTP/S or email, or if the endpoint and the topic are not in the same AWS account, the endpoint owner must confirm the subscription.
Parameters
- topicArn string - The Amazon Resource Name (ARN) of the topic you want to subscribe to
- endpoint string - The endpoint that you want to receive notifications to.
- protocol SubscriptionProtocol - The protocol you want to use.
- attributes SubscriptionAttributes? (default ()) - Attributes of the subscription
- returnSubscriptionArn boolean (default false) - Whether the response from the Subscribe request includes the subscription ARN, even if the subscription is not yet confirmed.
Return Type
- string|Error - The ARN of the subscription if it is confirmed, or the string "pending confirmation" if the
subscription requires confirmation. However, if the
returnSubscriptionArnparameter is set totrue, then the value is always the subscription ARN, even if the subscription requires confirmation.
confirmSubscription
function confirmSubscription(string topicArn, string token, boolean? authenticateOnUnsubscribe) returns string|ErrorVerifies an endpoint owner's intent to receive messages by validating the token sent to the endpoint by an earlier subscribe action.
Parameters
- topicArn string - The ARN of the topic for which you wish to confirm a subscription
- token string - Short-lived token sent to an endpoint during the subscribe action
- authenticateOnUnsubscribe boolean? (default ()) - Disallows unauthenticated unsubscribes of the subscription. If the value of this
parameter is
true, then only the topic owner and the subscription owner can unsubscribe the endpoint.
listSubscriptions
function listSubscriptions(string? topicArn) returns stream<Subscription, Error?>Retrieves the requester's subscriptions.
Parameters
- topicArn string? (default ()) - The ARN of the topic for which you wish list the subscriptions
Return Type
- stream<Subscription, Error?> - A stream of
Subscriptionrecords
getSubscriptionAttributes
function getSubscriptionAttributes(string subscriptionArn) returns GettableSubscriptionAttributes|ErrorRetrieves the attributes of the requested subscription.
Parameters
- subscriptionArn string - The ARN of the subscription
Return Type
- GettableSubscriptionAttributes|Error -
SubscriptionObjectorsns:Errorin case of failure
setSubscriptionAttributes
function setSubscriptionAttributes(string subscriptionArn, SubscriptionAttributeName attributeName, json|FilterPolicyScope|boolean|string value) returns Error?Modifies a single of a subscription.
Parameters
- subscriptionArn string - The ARN of the subscription to modify
- attributeName SubscriptionAttributeName - The name of the attribute you want to set
- value json|FilterPolicyScope|boolean|string - The new value for the attribute
Return Type
- Error? -
()orsns:Errorin case of failure
unsubscribe
Deletes a subscription. If the subscription requires authentication for deletion, only the owner of the subscription or the owner of the topic may unsubscribe. If the unsubscribe call does not require authentication and the requester is not the subscription owner, a final cancellation message is delivered to the endpoint, so that the endpoint owner can easily resubscribe to the topic if the unsubscribe request was unintended.
Parameters
- subscriptionArn string - The ARN of the subscription to be deleted
Return Type
- Error? -
()orsns:Errorin case of failure
createPlatformApplication
function createPlatformApplication(string name, Platform platform, PlatformApplicationAuthentication auth, PlatformApplicationAttributes? attributes) returns string|ErrorCreates a platform application object for one of the supported push notification services. You must specify
auth.platformPrincipal and auth.platformCredential parameters.
- for
ADMtheplatformPrincipalis theclient idandplatformCredentialis theclient secret - for
APNSandAPNS_SANDBOXusing certificate credentials, theplatformPrincipalis theSSL certificateandplatformCredentialis theprivate key - for
APNSandAPNS_SANDBOXusing token credentials, theplatformPrincipalis thesigning key IDand theplatformCredentialis thesigning key - for
FCMthere is noplatformPrincipalandplatformCredentialis theAPI key - for
BAIDUtheplatformPrincipalis theAPI keyandplatformCredentialis thesecret key - for
MPNStheplatformPrincipalis theTLS certificateandplatformCredentialis theprivate key - for
WNStheplatformPrincipalis thePackage Security IdentifierandplatformCredentialis thesecret key
Parameters
- name string - The name of the platform application object to create
- platform Platform - The platform of the application
- auth PlatformApplicationAuthentication - Authentication credentials for the platform application
- attributes PlatformApplicationAttributes? (default ()) - Attributes of the platform application
Return Type
listPlatformApplications
function listPlatformApplications() returns stream<PlatformApplication, Error?>Retrives the platform application objects for the supported push notification services.
Return Type
- stream<PlatformApplication, Error?> - A stream of
PlatformApplicationrecords
getPlatformApplicationAttributes
function getPlatformApplicationAttributes(string platformApplicationArn) returns RetrievablePlatformApplicationAttributes|ErrorRetrieves a platform application object for one of the supported push notification services.
Parameters
- platformApplicationArn string - The ARN of the platform application object to retrieve
Return Type
- RetrievablePlatformApplicationAttributes|Error -
PlatformApplicationorsns:Errorin case of failure
setPlatformApplicationAttributes
function setPlatformApplicationAttributes(string platformApplicationArn, SettablePlatformApplicationAttributes attributes) returns Error?Modifies the attributes of a platform application object for one of the supported push notification services.
Parameters
- platformApplicationArn string - The ARN of the platform application object to modify
- attributes SettablePlatformApplicationAttributes - The attributes to modify
Return Type
- Error? -
()orsns:Errorin case of failure
deletePlatformApplication
Deletes a platform application object for one of the supported push notification services.
Parameters
- platformApplicationArn string - The ARN of the platform application object to delete
Return Type
- Error? -
()orsns:Errorin case of failure
createEndpoint
function createEndpoint(string platformApplicationArn, string token, EndpointAttributes? attributes, string? customUserData) returns string|ErrorCreates an endpoint for a device and mobile app on one of the supported push notification services. This action is idempotent, so if the requester already owns an endpoint with the same device token and attributes, that endpoint's ARN is returned without creating a new endpoint.
Parameters
- platformApplicationArn string - The ARN of the platform application
- token string - Unique identifier created by the notification service for an app on a device. The specific name for the token will vary, depending on which notification service is being used
- attributes EndpointAttributes? (default ()) - Attributes of the endpoint
- customUserData string? (default ()) - Arbitrary user data to associate with the endpoint. Amazon SNS does not use this data
listEndpoints
Retrieves the endpoints associated with a specific platform application.
Parameters
- platformApplicationArn string - The ARN of the platform application to retrieve endpoints for
getEndpointAttributes
function getEndpointAttributes(string endpointArn) returns EndpointAttributes|ErrorRetrieves a platform application endpoint.
Parameters
- endpointArn string - The ARN of the endpoint
Return Type
- EndpointAttributes|Error - The attributes of the endpoint or
sns:Errorin case of failure
setEndpointAttributes
function setEndpointAttributes(string endpointArn, EndpointAttributes attributes) returns Error?Modifies the attributes of a platform application endpoint.
Parameters
- endpointArn string - The ARN of the endpoint
- attributes EndpointAttributes - The attributes to modify
Return Type
- Error? -
()orsns:Errorin case of failure
deleteEndpoint
Deletes a platform application endpoint. This action is idempotent. When you delete an endpoint that is also subscribed to a topic, then you must also unsubscribe the endpoint from the topic.
Parameters
- endpointArn string - The ARN of the endpoint
Return Type
- Error? -
()orsns:Errorin case of failure
createSMSSandboxPhoneNumber
function createSMSSandboxPhoneNumber(string phoneNumber, LanguageCode? languageCode) returns Error?Adds a destination phone number to an AWS account in the SMS sandbox and sends a one-time password (OTP) to that phone number.
Parameters
- phoneNumber string - The destination phone number to verify
- languageCode LanguageCode? (default EN_US) - The language to use for sending the OTP
Return Type
- Error? -
()orsns:Errorin case of failure
verifySMSSandboxPhoneNumber
Verifies a destination phone number with a one-time password (OTP) for the calling AWS account.
Parameters
- phoneNumber string - The destination phone number to verify
- otp string - The OTP sent to the destination number
Return Type
- Error? -
()orsns:Errorin case of failure
listSMSSandboxPhoneNumbers
function listSMSSandboxPhoneNumbers() returns stream<SMSSandboxPhoneNumber, Error?>Retrieves the current verified and pending destination phone numbers in the SMS sandbox.
Return Type
- stream<SMSSandboxPhoneNumber, Error?> - A stream of
SMSSandboxPhoneNumberrecords
deleteSMSSandboxPhoneNumber
Deletes a verified or pending phone number from the SMS sandbox.
Parameters
- phoneNumber string - The destination phone number to delete
Return Type
- Error? -
()orsns:Errorin case of failure
getSMSSandboxAccountStatus
Retrieves the SMS sandbox status for the calling AWS account in the target AWS Region.
Return Type
listOriginationNumbers
function listOriginationNumbers() returns stream<OriginationPhoneNumber, Error?>Retrieves the calling AWS account's dedicated origination numbers and their metadata.
Return Type
- stream<OriginationPhoneNumber, Error?> - A stream of
OriginationPhoneNumberrecords
listPhoneNumbersOptedOut
Retrieves a list of phone numbers that are opted out, meaning you cannot send SMS messages to them.
checkIfPhoneNumberIsOptedOut
Checks whether a phone number is opted out, meaning you cannot send SMS messages to it.
Parameters
- phoneNumber string - The phone number for which you want to check the opt out status.
Return Type
optInPhoneNumber
Requests to opt in a phone number that is opted out, which enables you to resume sending SMS messages to the number. You can opt in a phone number only once every 30 days.
Parameters
- phoneNumber string - The destination phone number to opt in (in E.164 format)
Return Type
- Error? -
()orsns:Errorin case of failure
tagResource
Adds tags to the specified Amazon SNS topic. A new tag with a key identical to that of an existing tag overwrites the existing tag.
Parameters
- topicArn string - The ARN of the topic to which to add tags
- tags *Tags - The tags to add to the specified topic
Return Type
- Error? -
()orsns:Errorin case of failure
listTags
Lists the tags for the specified Amazon SNS topic.
Parameters
- topicArn string - The ARN of the topic for which to list tags
untagResource
Removes tags from the specified Amazon SNS topic.
Parameters
- topicArn string - The ARN of the topic from which to remove tags
- tagKeys string[] - The list of tag keys to remove from the specified topic
Return Type
- Error? -
()orsns:Errorin case of failure
addPermission
function addPermission(string topicArn, Action[] actions, string[] awsAccountIds, string label) returns Error?Adds a statement to a topic's access control policy, granting access for the specified AWS accounts to the
specified actions.
Parameters
- topicArn string - The ARN of the topic to which to add the policy
- actions Action[] - The actions to allow for the specified users
- awsAccountIds string[] - The AWS account IDs of the users who will be given access to the specified actions
- label string - A unique identifier for the new policy statement
Return Type
- Error? -
()orsns:Errorin case of failure
removePermission
Removes a statement from a topic's access control policy.
Parameters
- topicArn string - The ARN of the topic from which to remove the policy
- label string - The unique identifier for the policy statement to be removed
Return Type
- Error? -
()orsns:Errorin case of failure
putDataProtectionPolicy
Adds or updates the data protection policy of the specified Amazon SNS topic.
Parameters
- topicArn string - The ARN of the topic to which to add the policy
- dataProtectionPolicy json - The policy document to add to the specified topic
Return Type
- Error? -
()orsns:Errorin case of failure
getDataProtectionPolicy
Retrieves the data protection policy for the specified Amazon SNS topic.
Parameters
- topicArn string - The ARN of the topic for which to retrieve the policy
Return Type
- json|Error - The data protection policy for the specified topic or
sns:Errorin case of failure
setSMSAttributes
function setSMSAttributes(SMSAttributes attributes) returns Error?Sets the default settings for sending SMS messages and receiving daily SMS usage reports.
Parameters
- attributes SMSAttributes - The settings for sending SMS messages and receiving daily SMS usage reports
Return Type
- Error? -
()orsns:Errorin case of failure
getSMSAttributes
function getSMSAttributes() returns SMSAttributes|ErrorRetrieves the default settings for sending SMS messages and receiving daily SMS usage reports.
Return Type
- SMSAttributes|Error - The default settings for sending SMS messages and receiving daily SMS usage reports or
sns:Errorin case of failure
Constants
aws.sns: DEFAULT_CREDENTIALS
Instructs the connector to resolve credentials via the AWS default credential provider chain.
Uses the AWS SDK for Java 2.x DefaultCredentialsProvider chain.
See the AWS SDK documentation for the current resolution order and supported
sources.
Enums
aws.sns: Action
The types of actions that can be performed on a topic. https://docs.aws.amazon.com/sns/latest/dg/sns-access-policy-language-api-permissions-reference.html
Members
aws.sns: BackoffFunction
The function that Amazon SNS uses to calculate the time to wait between retries.
Members
aws.sns: FilterPolicyScope
The scopes to which a subscription filter policy can be applied to.
Members
aws.sns: HeaderContentType
The content type of the notification being sent to HTTP/HTTPS endpoints.
Members
aws.sns: LanguageCode
The languages supported by Amazon SNS for sending SMS OTP messages.
Members
aws.sns: NumberCapabilities
The types of capabilities supported by an origination phone number.
Members
aws.sns: Platform
The types of application platforms supported.
Members
aws.sns: RouteType
The types of routes supported by an origination phone number.
Members
aws.sns: SignatureVersion
The hashing algorithm used while creating the signature of the notifications, subscription confirmations, or unsubscribe confirmation messages sent by Amazon SNS.
Members
aws.sns: SMSMessageType
The types of SMS messages that may be sent.
Members
aws.sns: Status
The types of phone number verification status.
Members
aws.sns: SubscriptionAttributeName
The possible values for the AttributeName parameter of the setSubscriptionAttributes operation.
Members
aws.sns: SubscriptionProtocol
The possible subscription protocols.
Members
aws.sns: TargetType
The types of targets to which a message can be published.
Members
aws.sns: TopicAttributeName
The possible values for topic attributes.
Members
aws.sns: TracingConfig
The possible values for the TracingConfig attribute of a topic.
Members
Records
aws.sns: BatchResultErrorEntry
Fields
- code string -
- id string -
- senderFault boolean -
- message? string -
aws.sns: ConnectionConfig
Represents the AWS SNS client connection configuration.
Fields
- Fields Included from *ConnectionConfig
- auth AuthConfig
- httpVersion HttpVersion
- http1Settings ClientHttp1Settings
- http2Settings ClientHttp2Settings
- timeout decimal
- forwarded string
- poolConfig PoolConfiguration
- cache CacheConfig
- compression Compression
- circuitBreaker CircuitBreakerConfig
- retryConfig RetryConfig
- responseLimits ResponseLimitConfigs
- secureSocket ClientSecureSocket
- proxy ProxyConfig
- validation boolean
- anydata...
- auth? never - Do not provide authentication credentials here
- accessKeyId? string - Deprecated: Use
credentialsinstead
- secretAccessKey? string - Deprecated: Use
credentialsinstead
- securityToken? string - Deprecated: Use
credentialsinstead
- credentials? StaticAuthConfig|ProfileAuthConfig|DEFAULT_CREDENTIALS - AWS credential configuration. Use
StaticAuthConfigfor explicit credentials,ProfileAuthConfigfor a local credentials file profile, orDEFAULT_CREDENTIALSto resolve credentials automatically via the AWS default credential provider chain (environment variables, ECS/EKS container credentials, EC2 instance profile, etc.)
- region string(default DEFAULT_REGION) - AWS SNS region. Default value is "us-east-1"
aws.sns: Endpoint
Represents an Amazon SNS platform appication endpoint.
Fields
- endpointArn string - The endpoint's ARN
- Fields Included from *EndpointAttributes
aws.sns: EndpointAttributes
Represents the attributes of an Amazon SNS platform application endpoint.
Fields
- customUserData? string - Arbitrary user data to associate with the endpoint
- enabled? boolean - flag that enables/disables delivery to the endpoint
- token? string - Unique identifier created by the notification service for an app on a device. The specific name for the token will vary, depending on which notification service is being used
aws.sns: GettableSubscriptionAttributes
Represents an Amazon SNS subscription object returned when calling the getSubscription operation.
Fields
- subscriptionArn string - The subscription's ARN
- endpoint string - The subscription's endpoint (format depends on the protocol)
- protocol SubscriptionProtocol - The subscription's protocol
- topicArn string - The ARN of the subscription's topic
- subscriptionPrincipal string - The subscription's principal
- confirmationWasAuthenticated boolean - Whether the subscription confirmation request was authenticated
- deliveryPolicy? json - The policy that defines how Amazon SNS retries failed deliveries to HTTP/S endpoints
- effectiveDeliveryPolicy? json - The policy that defines how Amazon SNS retries failed deliveries to HTTP/S endpoints, taking system defaults into account
- filterPolicy? json - The filter policy that is assigned to the subscription which lets the subscriber receive only a subset of the messages published to the topic
- filterPolicyScope? FilterPolicyScope - Defines whether the filter policy is applied to the message attributes or the message body
- owner string - The AWS account ID of the owner of the subscription
- pendingConfirmation boolean - Whether the subscription has been confirmed
- rawMessageDelivery boolean - Whether raw message delivery is enabled for the subscription
- redrivePolicy? json - The redrive policy attached to the subscription
- subscriptionRoleArn? string - The ARN of the IAM role that has permission to write to the Kinesis Data Firehose delivery and has Amazon SNS listed as a trusted entity. Applies only to Amazon Kinesis Data Firehose delivery stream subscriptions.
aws.sns: GettableTopicAttributes
Represents an Amazon SNS topic.
Fields
- Fields Included from *InitializableTopicAttributes
- deliveryPolicy json
- displayName string
- fifoTopic boolean
- policy json
- signatureVersion SignatureVersion
- tracingConfig TracingConfig
- kmsMasterKeyId string
- contentBasedDeduplication boolean
- httpMessageDeliveryLogging MessageDeliveryLoggingConfig
- firehoseMessageDeliveryLogging MessageDeliveryLoggingConfig
- lambdaMessageDeliveryLogging MessageDeliveryLoggingConfig
- applicationMessageDeliveryLogging MessageDeliveryLoggingConfig
- sqsMessageDeliveryLogging MessageDeliveryLoggingConfig
- topicArn string - The topic's ARN
- effectiveDeliveryPolicy json - The policy that defines how Amazon SNS retries failed deliveries to HTTP/S endpoints, taking system defaults into account.
- owner string - The AWS account ID of the topic's owner
- policy json - The policy that defines who can access your topic
- subscriptionsConfirmed int - The number of confirmed subscriptions for the topic
- subscriptionsDeleted int - The number of deleted subscriptions for the topic
- subscriptionsPending int - The number of subscriptions pending confirmation for the topic
aws.sns: InitializableTopicAttributes
Represents the attributes of an Amazon SNS topic.
Fields
- deliveryPolicy? json - The policy that defines how Amazon SNS retries failed deliveries to HTTP/S endpoints
- displayName? string - The display name to use for a topic with SMS subscriptions
- fifoTopic? boolean - Set to true to create a FIFO topic
- policy? json - The policy that defines who can access your topic
- signatureVersion? SignatureVersion - The signature version corresponds to the hashing algorithm used while creating the signature of the notifications, subscription confirmations, or unsubscribe confirmation messages sent by Amazon SNS
- tracingConfig? TracingConfig - Tracing mode of an Amazon SNS topic
- kmsMasterKeyId? string - The ID of an AWS-managed customer master key (CMK) for Amazon SNS or a custom CMK
- contentBasedDeduplication? boolean - Enables content-based deduplication for FIFO topics. Applies only to FIFO topics
- httpMessageDeliveryLogging? MessageDeliveryLoggingConfig - The configurations for message delivery logging for the HTTP delivery protocol
- firehoseMessageDeliveryLogging? MessageDeliveryLoggingConfig - The configurations for message delivery logging for the Amazon Kinesis Data Firehose delivery stream delivery protocol
- lambdaMessageDeliveryLogging? MessageDeliveryLoggingConfig - The configurations for message delivery logging for the Lambda delivery protocol
- applicationMessageDeliveryLogging? MessageDeliveryLoggingConfig - The configurations for message delivery logging for the application delivery
- sqsMessageDeliveryLogging? MessageDeliveryLoggingConfig - The configurations for message delivery logging for the Amazon SQS delivery protocol
aws.sns: ListTopicsResponse
Fields
- topicArns string[] -
- nextToken string? -
aws.sns: MessageDeliveryLoggingConfig
Represents the configurations to be used for message delivery logging for a particular protocol.
Fields
- successFeedbackRoleArn? string - Indicates successful message delivery status for an Amazon SNS topic that is subscribed to an endpoint
- failureFeedbackRoleArn? string - Indicates failed message delivery status for an Amazon SNS topic that is subscribed to an endpoint
- successFeedbackSampleRate? int - Indicates percentage of successful messages to sample for an Amazon SNS topic that is subscribed to an endpoint
aws.sns: MessageRecord
Contains the messages to be published for each transport protocol.
Fields
- default string - The default message that's used for all transport protocols if no individual message is specified
- subject? string - Optional parameter to be used as the "Subject" line when the message is delivered to email endpoints
- email? string - The message to be sent to email endpoints
- emailJson? string - The message to be sent to email endpoints formatted as a JSON object
- sqs? string - The message to be sent to Amazon SQS endpoints
- lambda? string - The message to be sent to AWS Lambda (Lambda) endpoints
- http? string - The message to be sent to HTTP endpoints
- https? string - The message to be sent to HTTPS endpoints
- sms? string - The message to be sent to SMS endpoints
- firehose? string - The message to be sent to Amazon Kinesis Data Firehose endpoints
- apns? string - The payload to be sent to APNS endpoints
- apnsSandbox? string - The payload to be sent to APNS sandbox endpoints
- apnsVoip? string - The payload to be sent to APNS VoIP endpoints
- apnsVoipSandbox? string - The payload to be sent to APNS VoIP sandbox endpoints
- macos? string - The payload to be sent to MacOS endpoints
- macosSandbox? string - The payload to be sent to MacOS sandbox endpoints
- gcm? string - The payload to be sent to GCM endpoints
- adm? string - The payload to be sent to ADM endpoints
- baidu? string - The payload to be sent to Baidu endpoints
- mpns? string - The payload to be sent to MPNS endpoints
- wns? string - The payload to be sent to WNS endpoints
- string... - Rest field
aws.sns: OriginationPhoneNumber
Represents an origination phone number.
Fields
- createdAt Civil - The date and time when the origination phone number was created
- iso2CountryCode string - The two-character code, in ISO 3166-1 alpha-2 format, for the country or region where the origination phone number was originally registered
- numberCapabilities NumberCapabilities[] - The capabilities of the origination phone number
- phoneNumber string - The phone number
- routeType RouteType - The route type
- status string - The status of the origination phone number
aws.sns: PlatformApplication
Represents an Amazon SNS platform appication.
Fields
- platformApplicationArn string - The ARN of the platform application object Publish delivery failure (permanent) to one of the application's endpoints
- Fields Included from *RetrievablePlatformApplicationAttributes
aws.sns: PlatformApplicationAttributes
Represents the attributes of an Amazon SNS platform appication.
Fields
- eventEndpointCreated? string - The topic ARN to which
EndpointCreatedevent notifications should be sent
- eventEndpointDeleted? string - The topic ARN to which
EndpointDeletedevent notifications should be sent
- eventEndpointUpdated? string - The topic ARN to which
EndpointUpdatedevent notifications should be sent
- eventDeliveryFailure? string - The topic ARN to which
DeliveryFailureevent notifications should be sent upon Direct Publish delivery failure (permanent) to one of the application's endpoints
- successFeedbackRoleArn? string - The IAM role ARN used to give Amazon SNS write access to use CloudWatch Logs on your behalf
- failureFeedbackRoleArn? string - The IAM role ARN used to give Amazon SNS write access to use CloudWatch Logs on your behalf
- successFeedbackSampleRate? int - The percentage of success to sample (0-100)
aws.sns: PlatformApplicationAuthentication
Represents the authentication attributes of an Amazon SNS platform appication that can be set.
Fields
- platformCredential string - The credential received from the notification service
- platformPrincipal? string - The principal received from the notification service
- applePlatformTeamId? string - The identifier that's assigned to your Apple developer account team
- applePlatformBundleId? string - The bundle identifier that's used for APNs tokens
aws.sns: ProfileAuthConfig
Represents AWS credentials loaded from a local credentials file profile.
Fields
- profileName string(default "default") - The named profile to use (defaults to
"default")
- credentialsFilePath string(default "~/.aws/credentials") - Path to the AWS credentials file (defaults to
"~/.aws/credentials")
aws.sns: PublishBatchRequestEntry
Represents the details of a single message in a publish batch request.
Fields
- id? string - A unique identifier for the message in the batch
- message Message - The message to send
- attributes? map<MessageAttributeValue> - The attributes of the message
- deduplicationId? string - Every message must have a unique
deduplicationId, which is a token used for deduplication of sent messages. If a message with a particulardeduplicationIdis sent successfully, any message sent with the samededuplicationIdduring the 5-minute deduplication interval is treated as a duplicate. If the topic hascontentBasedDeduplicationset, the system generates adeduplicationIdbased on the contents of the message. YourdeduplicationIdoverrides the generated one. Applies to FIFO topics only
- groupId? string - Specifies the message group to which a message belongs to. Messages that belong to the same message
group are processed in a FIFO manner (however, messages in different message groups might be processed
out of order). Every message must include a
groupId. Applies to FIFO topics only
aws.sns: PublishBatchResponse
Fields
- successful PublishBatchResultEntry[] -
- failed BatchResultErrorEntry[] -
aws.sns: PublishBatchResultEntry
Fields
- id string -
- messageId string -
- sequenceNumber? string -
aws.sns: PublishMessageResponse
Fields
- messageId string -
- sequenceNumber? string -
aws.sns: RetrievablePlatformApplicationAttributes
Represents the attributes of an Amazon SNS platform application that can be retrieved.
Fields
- enabled boolean - Whether the platform application is enabled for direct publishing from Amazon SNS
- appleCertificateExpiryDate? string - The expiry date of the SSL certificate used to configure certificate-based authentication
- applePlatformTeamId? string - The Apple developer account ID used to configure token-based authentication
- applePlatformBundleId? string - The bundle identifier used to configure token-based authentication
- Fields Included from *PlatformApplicationAttributes
aws.sns: SettablePlatformApplicationAttributes
Represents the attributes of an Amazon SNS platform appication that can be set using the
setPlatformApplicationAttributes action.
Fields
- Fields Included from *PlatformApplicationAttributes
- platformCredential? string - The credential received from the notification service
- platformPrincipal? string - The principal received from the notification service
- applePlatformTeamId? string - The identifier that's assigned to your Apple developer account team
- applePlatformBundleId? string - The bundle identifier that's used for APNs tokens
aws.sns: SMSAttributes
Represents the attributes for sending SMS messages with Amazon SNS.
Fields
- monthlySpendLimit? int - The maximum amount in USD that you are willing to spend each month to send SMS messages. When Amazon SNS determines that sending an SMS message would incur a cost that exceeds this limit, it stops sending SMS messages within minutes
- deliveryStatusIAMRole? string - The ARN of the IAM role that allows Amazon SNS to write logs about SMS deliveries in CloudWatch logs
- deliveryStatusSuccessSamplingRate? int - The percentage of successful SMS deliveries for which Amazon SNS will write logs in CloudWatch Logs
- defaultSenderID? string - A string that is displayed as the sender on the receiving device
- defaultSMSType? SMSMessageType - The type of SMS message that you will send by default
- usageReportS3Bucket? string - The name of the Amazon S3 bucket to receive daily SMS usage reports from Amazon SNS
aws.sns: SMSSandboxPhoneNumber
Represent an SMS sandbox phone number.
Fields
- phoneNumber string - The destination phone number
- status Status - The destination phone number's verification status
aws.sns: StaticAuthConfig
Represents static AWS credentials.
Fields
- accessKeyId string - AWS access key ID
- secretAccessKey string - AWS secret access key
- sessionToken? string - AWS session token for temporary credentials
aws.sns: Subscription
Represents an Amazon SNS subscription object returned when calling the listSubscriptions operation.
Fields
- subscriptionArn string - The subscription's ARN
- owner string - The subscription's owner
- protocol SubscriptionProtocol - The subscription's protocol
- endpoint string - The subscription's endpoint (format depends on the protocol)
- topicArn string - The ARN of the subscription's topic
aws.sns: SubscriptionAttributes
Represents the attributes that can be set when creating a subscription.
Fields
- deliveryPolicy? json - The policy that defines how Amazon SNS retries failed deliveries to HTTP/S endpoints
- filterPolicy? json - The filter policy that is assigned to the subscription which lets the subscriber receive only a subset of the messages published to the topic
- filterPolicyScope? FilterPolicyScope - Defines whether the filter policy is applied to the message attributes or the message body
- rawMessageDelivery? boolean - When set to true, enables raw message delivery to Amazon SQS or HTTP/S endpoints
- redrivePolicy? json - When specified, sends undeliverable messages to the specified Amazon SQS dead-letter queue
- subscriptionRoleArn? string - The ARN of the IAM role that has permission to write to the Kinesis Data Firehose delivery stream and has Amazon SNS listed as a trusted entity. Applies only to Amazon Kinesis Data Firehose delivery stream subscriptions.
aws.sns: Tags
Represents the tags associated with an Amazon SNS topic.
Fields
- topicArn? never - The ARN of the topic to which the tags are added
- string... - Rest field
Errors
aws.sns: CalculateSignatureFailedError
Represents an error that occurs when calculating the signature.
aws.sns: Error
Reperesents the generic error type for the aws.sns module.
aws.sns: GenerateRequestFailed
Represents an error that occurs when generating an API request.
aws.sns: InternalError
Represents an error that occurs when the API action cannot be completed due to an unknown server error.
aws.sns: OperationError
Represents an error that occurs when the API action cannot be completed due to user error.
aws.sns: ResponseHandleFailedError
Represents an error that occurs when the API response is in an unexpected format.
Union types
aws.sns: Message
Message
Represents a message that is published to an Amazon SNS topic. If you are publishing to a topic and you want to send
the same message to all transport protocols, include the text of the message as a string value. If you want to send
different messages for each transport protocol use a MessageRecord value.
aws.sns: MessageAttributeValue
MessageAttributeValue
Represents an attribute value of a message.